Recipe Genie - Real-time Data Integration with Amazon Bedrock Agents and MCP
This library is licensed under the MIT-0 License. See the [LICENSE](../../LICENSE) file.
Recipe Genie - Real-time Data Integration with Amazon Bedrock Agents and MCP
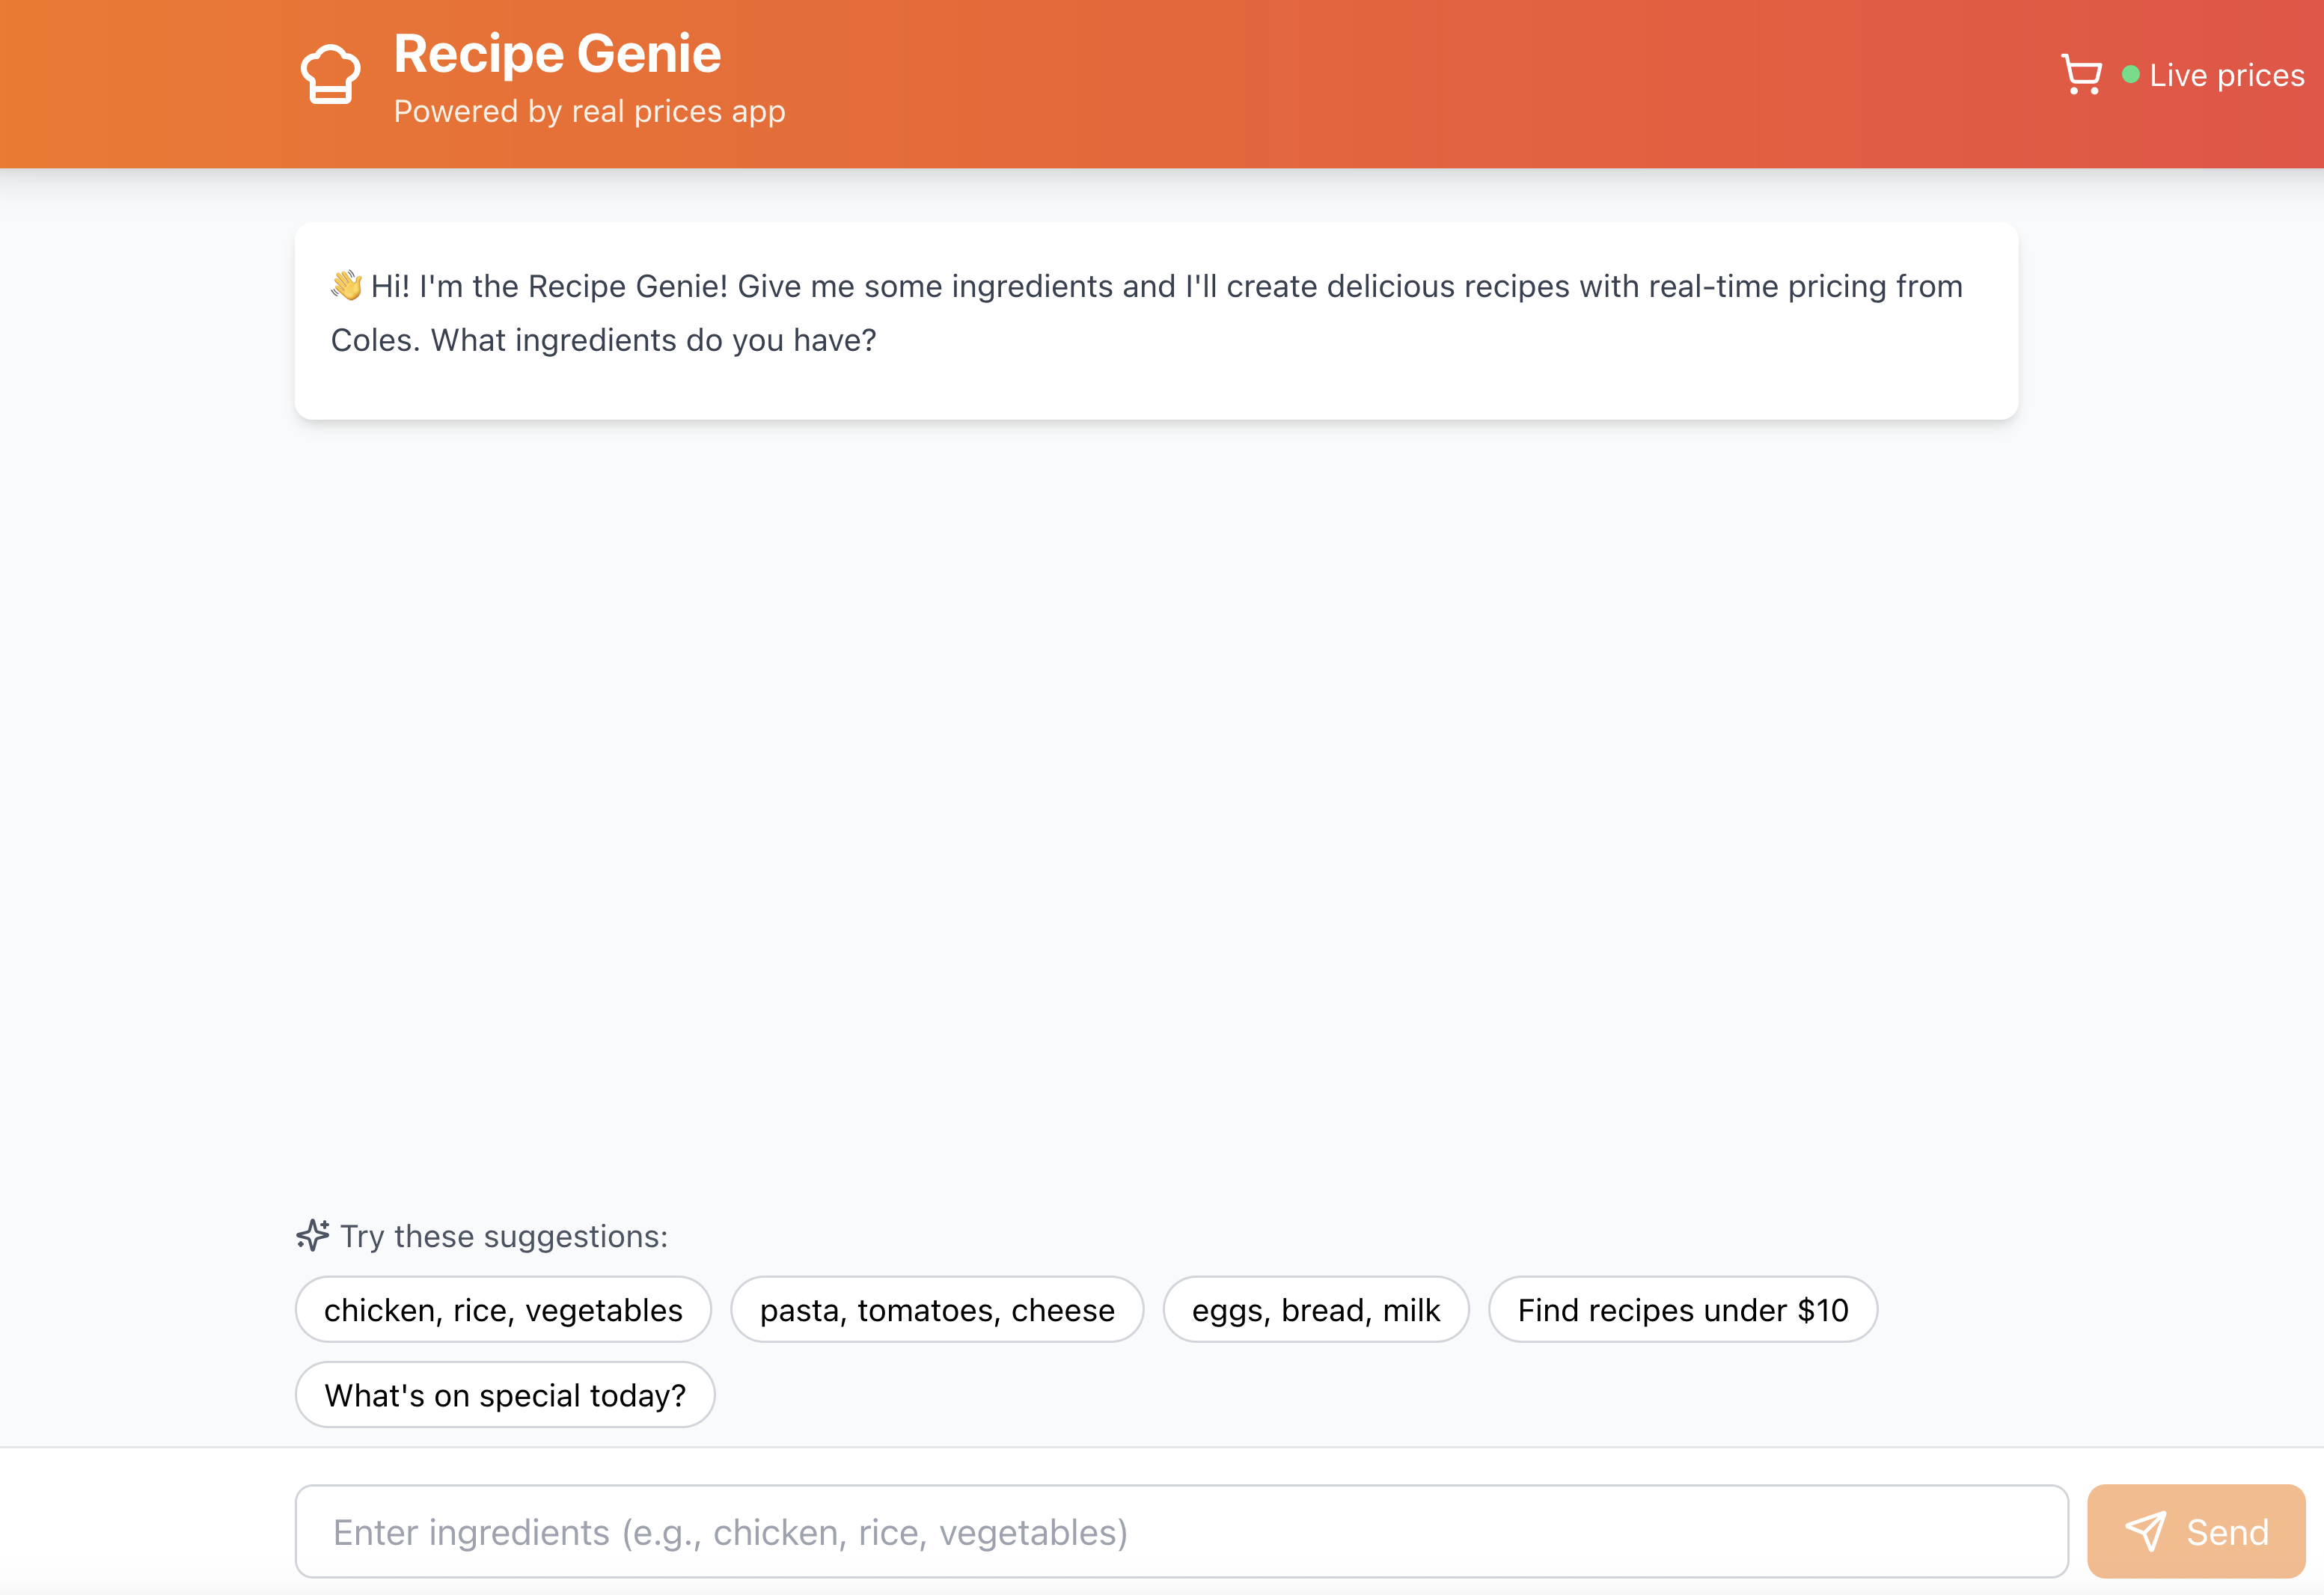
An AI-powered recipe chatbot that demonstrates real-time data integration using Amazon Bedrock Agents, Strands SDK, and Model Context Protocol (MCP).
Overview
Recipe Genie showcases how to build intelligent AI agents that can access real-time external data sources through MCP servers. This demo creates a recipe assistant that:
- Takes user ingredients as input and generates creative recipes
- Integrates with real-time pricing data through an MCP server
- Uses Amazon Bedrock with Claude 3.5 Sonnet for natural language understanding
- Demonstrates the Strands Agents SDK for simplified agent development
This architecture pattern is valuable for building AI applications that need to combine language models with real-time data access, external APIs, or dynamic information sources. The MCP protocol provides a standardized way to expose tools and data to AI agents, making it easier to build modular, extensible AI systems.
Tags
- bedrock
- python
- demo
- strands
- mcp
- agents
- real-time-data
- fastapi
- react
Technologies
- Python 3.9+
- AWS SDK (boto3)
- Amazon Bedrock
- Strands Agents SDK
- Model Context Protocol (MCP)
- FastAPI
- React
- WebSockets
- Tailwind CSS
Difficulty
Medium
Prerequisites
- Python 3.9+
- Node.js 18+
- AWS Account with Amazon Bedrock access
- AWS credentials configured
- API key for pricing data (see Setup section)
Enable AWS IAM permissions for Bedrock
The AWS identity you assume from your environment (which is the Studio/notebook Execution Role from SageMaker, or could be a role or IAM User for self-managed notebooks or other use-cases), must have sufficient AWS IAM permissions to call the Amazon Bedrock service.
To grant Bedrock access to your identity, you can:
- Open the AWS IAM Console
- Find your Role (if using SageMaker or otherwise assuming an IAM Role), or else User
- Select Add Permissions > Create Inline Policy to attach new inline permissions, open the JSON editor and paste in the below example policy:
{
    "Version": "2012-10-17",
    "Statement": [
        {
  "Sid": "BedrockFullAccess",
  "Effect": "Allow",
  "Action": ["bedrock:*"],
  "Resource": "*"
        }
    ]
}
Enabling a Model in Amazon Bedrock Console
Follow the steps below to enable a foundation model for use in Amazon Bedrock:
Step 1: Sign in to the AWS Console
- Go to https://console.aws.amazon.com/
- Select the desired AWS Region on the right top corner, e.g., us-east-1.
- Navigate to Amazon Bedrock service.
Step 2: Go to the “Model access” section
- In the left-hand navigation pane, click on Model access.
- You will see a list of available foundation models from various providers (e.g., Anthropic, AI21, Meta, etc.).
Step 3: Request access to a model
- Find the model you want to enable.
- For this demo we are using
Claude 3.5 Sonnet v2, however, feel free to try different models. If you change the model, update the model id in your.envfile.
- For this demo we are using
- Click Edit access next to the model.
- Tick the checkbox to enable access to the model.
Step 4: Confirm and save
- Click Save changes.
- The model will now appear as available in your account, and you can start invoking it via the console or API.
Note: Some models may require approval or have usage limits based on your account setup.
For more information, refer to the Amazon Bedrock documentation.
Setup
1. Clone and Install
# Clone the repository
git clone https://github.com/aws-samples/sample-ai-possibilities.git
cd demos/recipe-genie-chatbot

# Install Python dependencies
pip install -r requirements.txt

# Install frontend dependencies
cd recipe-genie-frontend
npm install
cd ..
2. Configuration
The project uses two .env files - one for the backend services and one for the frontend:
Backend Configuration (root directory)
# Copy and configure backend environment
cp .env.example .env
Frontend Configuration
# Copy and configure frontend environment
cd recipe-genie-frontend
cp .env.example .env
cd ..
Edit .env files with your configuration:
⚠️ IMPORTANT SECURITY NOTICE:
- NEVER commit credentials to version control
- NEVER share your AWS access keys publicly
- The
.envfile should be added to.gitignore - For EC2 deployments, use IAM roles instead of access keys (see below)
Required configuration in root .env:
COLES_API_KEY: API key for pricing serviceAWS_REGION: Your AWS region (default: us-east-1)AWS_ACCESS_KEY_ID: Your AWS access key (local development only)AWS_SECRET_ACCESS_KEY: Your AWS secret key (local development only)
Optional configuration in root .env:
BEDROCK_MODEL_ID: Bedrock model to use (default: us.anthropic.claude-3-5-sonnet-20241022-v2:0)STORE_ID: Default store ID for pricing (default: 0584)MCP_HOST: MCP server host (default: localhost)MCP_PORT: MCP server port (default: 8000)API_HOST: API server host (default: 0.0.0.0)API_PORT: API server port (default: 8080)
Required configuration in recipe-genie-frontend/.env:
REACT_APP_API_URL: Backend API URL (default: http://localhost:8080)
Recommended: Using IAM Roles on EC2
For EC2 deployments, we strongly recommend using IAM roles instead of hardcoded credentials:
- Create an IAM role with Bedrock access permissions
- Attach the role to your EC2 instance
- Remove AWS_ACCESS_KEY_ID and AWS_SECRET_ACCESS_KEY from
.env - The SDK will automatically use the instance role
This approach is more secure and follows AWS best practices.
3. Start the Services
Run all three components in separate terminals:
# Terminal 1: Start the MCP server
python coles_real_api_mcp.py

# Terminal 2: Start the backend API
python recipe_genie_api.py

# Terminal 3: Start the frontend
cd recipe-genie-frontend
npm start
The application will be available at http://localhost:3003
Architecture
┌─────────────┐     ┌──────────────┐     ┌─────────────┐
│   React     │────▶│   FastAPI    │────▶│  MCP Server │
│  Frontend   │     │   Backend    │     │  (Pricing)  │
└─────────────┘     └──────────────┘     └─────────────┘
                  │
                  ▼
          ┌────────────────────┐
          │ Amazon Bedrock     │
          │   Claude 3.5       │
          └────────────────────┘
Key Features
- Real-time Streaming: WebSocket connection for streaming AI responses
- MCP Integration: Demonstrates tool usage through the MCP protocol
- Error Handling: Graceful fallback from WebSocket to HTTP
- Session Management: Maintains conversation history
- Responsive UI: Mobile-friendly React interface
Project Structure
recipe-genie-chatbot/
├── coles_real_api_mcp.py    # MCP server for pricing data
├── recipe_genie_api.py       # FastAPI backend with Strands
├── requirements.txt          # Python dependencies
├── .env.example             # Backend environment template
├── .gitignore               # Git ignore file
└── recipe-genie-frontend/   # React frontend
    ├── src/
    │   └── components/
    │       └── RecipeGenieChat.js
    ├── package.json
    └── .env.example         # Frontend environment template
Deployment Considerations
For production deployment:
- Security:
- Always use AWS IAM roles instead of access keys in production
- Never store credentials in code or configuration files
- Implement proper CORS policies (remove wildcard origins)
- Add rate limiting and input validation
- Use secrets management services (AWS Secrets Manager, Parameter Store)
- Scalability:
- Use Redis or DynamoDB for session storage
- Deploy with container orchestration (ECS/EKS)
- Implement proper logging and monitoring
- Performance:
- Add caching for common queries
- Use CDN for frontend assets
- Optimize WebSocket connections
Cleanup Instructions
To remove all resources:
- Stop all running processes (Ctrl+C in each terminal)
- Remove installed dependencies:
# Remove Python virtual environment if used deactivate rm -rf venv/ # Remove node modules cd recipe-genie-frontend rm -rf node_modules/ - Delete the project directory
Notes
- This project is for educational purposes and is not designed for production use. For production use, please implement proper security, scalability, and compliance measures appropriate for your use case.
- The MCP server implementation is a demonstration of the protocol and should be adapted to your specific data sources
- Ensure you comply with all API terms of service and data usage policies
Security
See CONTRIBUTING for more information.
License
This library is licensed under the MIT-0 License. See the LICENSE file.