教程: 如何将 Keycloak 与 Amazon API Gateway 集成?
本教程介绍如何通过 Keycloak 控制不同用户访问不同API接口的权限。更多信息可以参考 Keycloak 文档的 Authorization Services 章节。
架构图

前提条件
-
您已经通过 AWS CloudFormation 或 AWS CDK 部署了解决方案,并且已经以 Keycloak 管理员用户身份成功登录 Keycloak 仪表板。
-
确保在 CloudFormation 参数中填写了以下 JAVA_OPTS。
-Dkeycloak.profile.feature.scripts=enabled -Dkeycloak.profile.feature.upload_scripts=enabled
操作步骤
步骤 3. 在本地环境运行serverless-express-auth
步骤 1. 克隆keycloak-on-aws代码至本地
执行以下命令将 keycloak-on-aws 代码下载到本地。
git clone https://github.com/aws-samples/keycloak-on-aws.git
cd keycloak-on-aws
步骤 2. 导入Keycloak示例配置文件
-
以 Keycloak 管理员用户身份登录 Keycloak 仪表板。
-
在左侧导航窗中的 Master,选择 Add realm。
-
选择 Select file,选中步骤 1 下载代码中的 tutorials/api-gateway/resoures/keycloak.json 文件 。
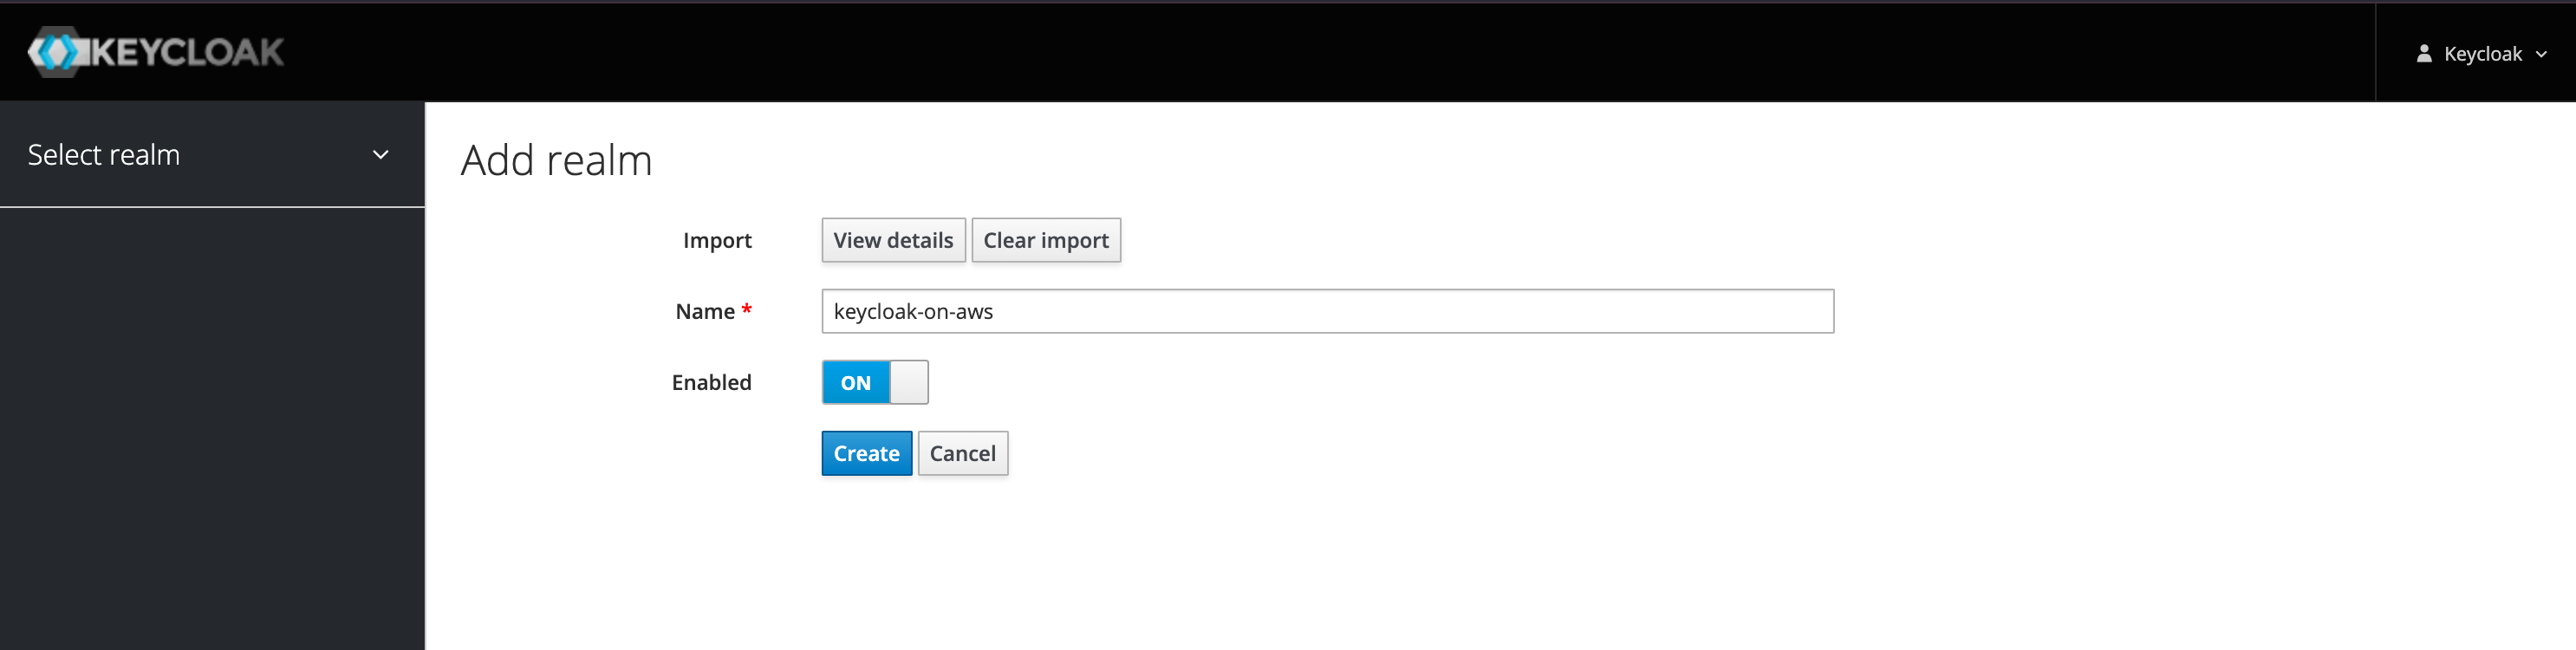
-
选择 Create 。
步骤 3. 在本地环境运行serverless-express-auth
该示例主要基于 expressjs 和官方的 keycloak-nodejs-connect,并使用 serverless-express 从而让 expressjs 能够在 Lambda 上运行。
keycloak-nodejs-connect 由 Keycloak 团队维护,这是连接到 Keycloak 的推荐方式。
说明
keycloak-nodejs-connect的文件位于 https://www.keycloak.org/docs/latest/securing_apps/#_nodejs_adapter。
-
以 Keycloak 管理员用户身份登录 Keycloak 仪表板。
-
在左侧的导航窗中选择 Clients。
-
选择 vue 查看详细信息。
-
选择 Installation。
-
点击 Format Option 下拉菜单并选择 Keycloak OIDC JSON。
-
根据 Keyloak Installation 中的配置更新步骤 1 下载代码中 tutorials/api-gateway/resources/keycloak.json 文件内容 。
{ "realm": "keycloak-on-aws", "auth-server-url": "https://keycloak.yourdomain.com/auth/", "ssl-required": "external", "resource": "vue", "public-client": true, "confidential-port": 0, // Don't remove the following line, this is for vue-ui to contact to api gw !!! "x-api-gw-url": "http://localhost:3003/dev/hello" } - 进入 tutorials/api-gateway/serverless-express-auth 目录,并执行以下操作:
输出示例
cd tutorials/api-gateway/serverless-express-auth yarn yarn offlineyarn run v1.22.19 $ SLS_DEBUG=* serverless offline --host 0.0.0.0 --httpPort 3003 --lambdaPort=3019 ... offline: Offline [http for lambda] listening on http://0.0.0.0:3019 offline: Function names exposed for local invocation by aws-sdk: * authEndpoint: serverless-express-auth-dev-authEndpoint * hello: serverless-express-auth-dev-hello [offline] Lambda Invocation Routes (for AWS SDK or AWS CLI): * POST http://0.0.0.0:3019/2015-03-31/functions/serverless-express-auth-dev-authEndpoint/invocations * POST http://0.0.0.0:3019/2015-03-31/functions/serverless-express-auth-dev-hello/invocations [offline] Lambda Async Invocation Routes (for AWS SDK or AWS CLI): * POST http://0.0.0.0:3019/2014-11-13/functions/serverless-express-auth-dev-authEndpoint/invoke-async/ * POST http://0.0.0.0:3019/2014-11-13/functions/serverless-express-auth-dev-hello/invoke-async/ offline: Configuring Authorization: hello authEndpoint [offline] Creating Authorization scheme for hello-authEndpoint-GET-hello ┌───────────────────────────────────────────────────────────────────────┐ │ │ │ GET | http://0.0.0.0:3003/dev/hello │ │ POST | http://0.0.0.0:3003/2015-03-31/functions/hello/invocations │ │ │ └───────────────────────────────────────────────────────────────────────┘ offline: [HTTP] server ready: http://0.0.0.0:3003 🚀 offline: offline: Enter "rp" to replay the last request
步骤 4. 在本地环境运行Vue UI
cd tutorials/api-gateway/vue-ui
yarn
yarn serve
yarn run v1.22.19
$ vue-cli-service serve
Browserslist: caniuse-lite is outdated. Please run:
  npx browserslist@latest --update-db
  Why you should do it regularly: https://github.com/browserslist/browserslist#browsers-data-updating
 INFO  Starting development server...
Starting type checking service...
Using 1 worker with 2048MB memory limit
98% after emitting CopyPlugin

 DONE  Compiled successfully in 1638ms                                                3:42:04 PM

No type errors found
Version: typescript 4.2.4
Time: 1111ms

  App running at:
  - Local:   http://localhost:8080/
  - Network: http://localhost:8080/

  Note that the development build is not optimized.
  To create a production build, run yarn build.
步骤 5. 验证用户权限
一个常见的场景是不同的用户有不同的权限来执行一个动作(允许/拒绝)。此教程中内置了两个不同的用户,user1 可以调用 API gateway,而 user2 不允许。
用户详细信息如下:
| 用户名 | 密码 | 角色 | 描述 |
|---|---|---|---|
| user1 | user1 | call-api | user1 允许调用 API gateway |
| user2 | user2 | - | user2 不允许调用 API gateway |
-
打开Vue UI 控制台,例如 http://localhost:8080 。
-
点击 Login。
-
在 Username or email中 输入 user1,在 Password 中输入 user1。
-
选择 Sign In。
-
选择 Request,您将获得成功的响应消息。
{ "url": "http://localhost:3003/dev/hello", "status": 200, "statusText": "OK", "data": { "message": "Hello World from protect server" } } -
点击 Logout.
-
在 Username or email中 输入 user2,在 Password 中输入 user2。
-
选择 Sign In。
-
选择 Request,您将获得失败的响应消息,状态码为 401。
{
  "url": "http://localhost:3003/dev/hello",
  "status": 401,
  "statusText": "Unauthorized",
  "data": {
    "statusCode": 401,
    "error": "Unauthorized",
    "message": "Unauthorized"
  }
}
常见问题解答
1. 如何导出 Keycloak 域用户?
运行以下命令导出 Keycloak 域用户:
$ docker exec <container id>
$ /opt/jboss/keycloak/bin/standalone.sh -Dkeycloak.migration.action=export -Dkeycloak.migration.realmName=keycloak-on-aws -Dkeycloak.migration.provider=singleFile -Dkeycloak.migration.provider=singleFile -Dkeycloak.migration.file=realm-export.json -Djboss.socket.binding.port-offset=99
详情请参考:https://stackoverflow.com/questions/60766292/how-to-get-keycloak-to-export-realm-users-and-then-exit