SAML Authentication Method for Browser Extensions
Prerequisites
To perform SAML authentication in a browser extension, you need to configure SAML integration in GenU beforehand. Please refer to these instructions to complete the setup in advance.
Usage Instructions
Building and Installing the Browser Extension
First, refer to this guide to build and install the browser extension. If you build the extension after configuring SAML integration in GenU, the information necessary for SAML authentication will be set automatically, so it's recommended to configure GenU first.
Cognito Configuration
When performing SAML authentication, Cognito needs to make a callback to the browser extension. Therefore, you need to add the browser extension's URL to the callback URLs in the Cognito application client.
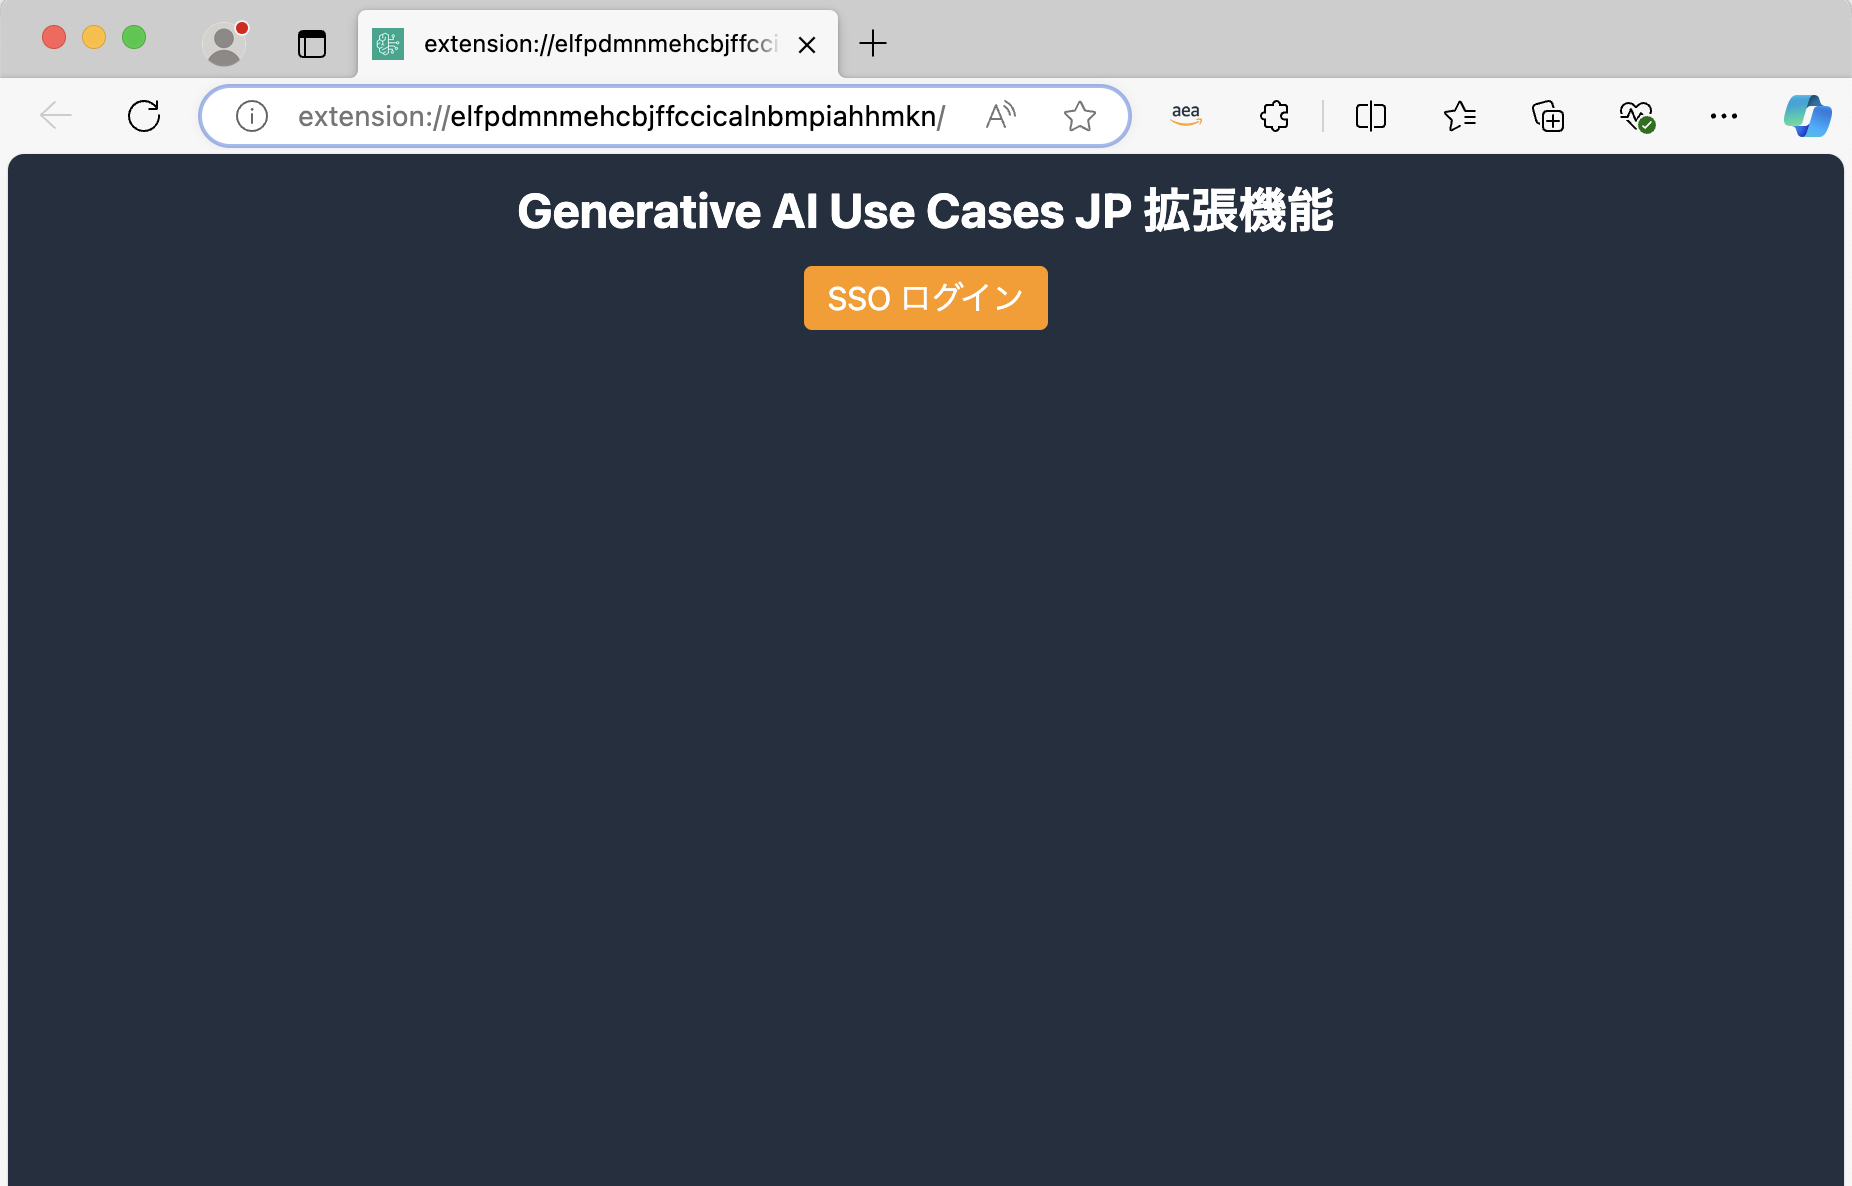
Checking the Extension URL
First, open the installed browser extension and click the "Go to Login Screen" button.

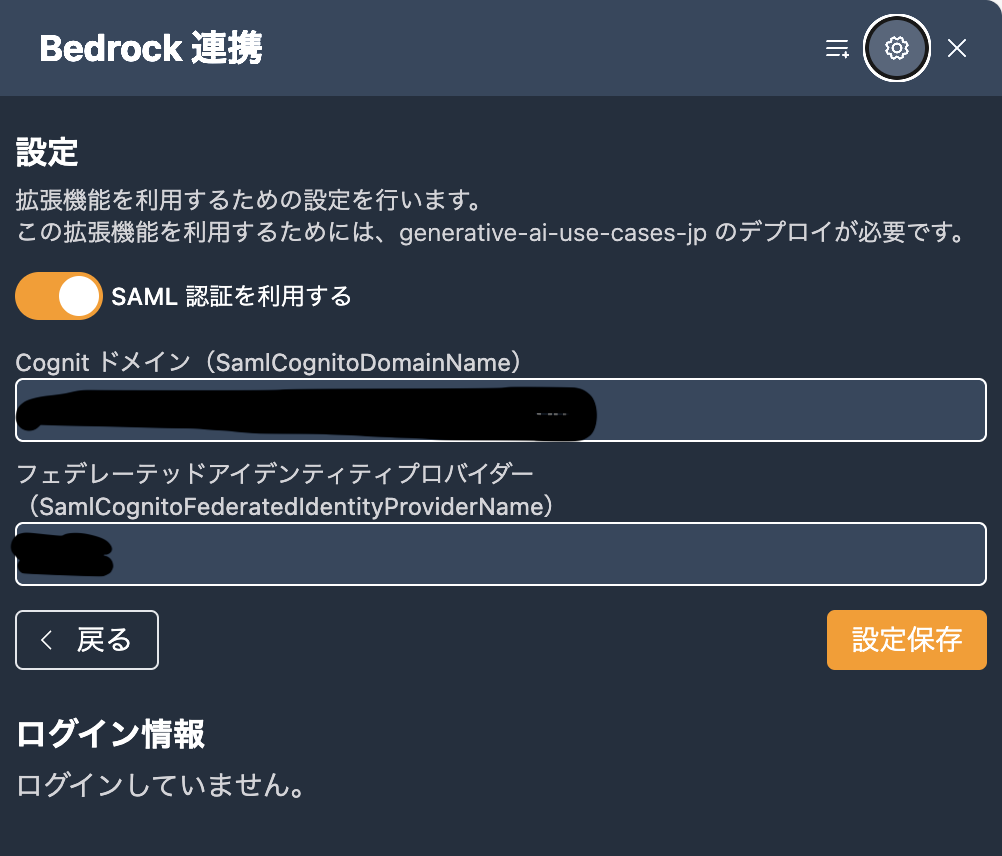
If you see the regular user authentication screen instead of the above screen, open the settings screen and enable "SAML Authentication," then enter the required information. You can check the configuration values using this method.
When you click the "Go to Login Screen" button, the SAML authentication screen will appear in a "new tab" as shown below. You cannot log in yet because Cognito is not configured. Copy and note this screen's URL for use in the Cognito configuration.
Configuring Cognito Hosted UI
In the GenU SAML configuration, you set up the Cognito Hosted UI, but now you need to add the extension URL as an "Allowed Callback URL." For details, please follow these steps:
Add the extension URL you noted in "Checking the Extension URL" to the "Allowed Callback URLs." The extension URL must be in the following format:
chrome-extension://ExtensionID/index.html
Important
If you're using Microsoft Edge, the URL in the browser will appear as extension://ExtensionID/index.html, but in the Cognito configuration, you must use chrome-extension.
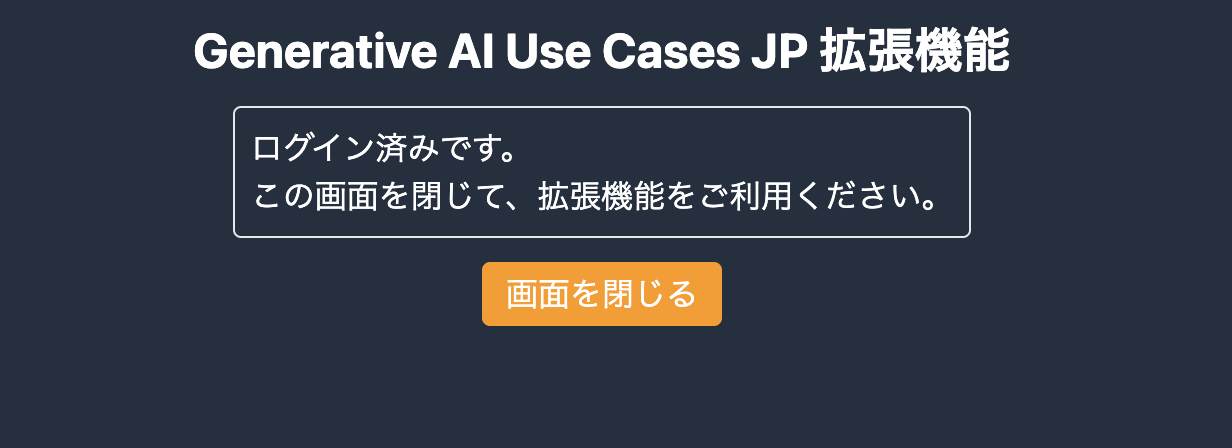
Verification
Perform SAML authentication from the browser extension's login screen. Upon successful authentication, you will see a screen like the one below.