Deployment
Before you launch the solution, review the architecture, supported regions, and other considerations discussed in this guide. Follow the step-by-step instructions in this section to configure and deploy the solution into your account.
Time to deploy: Approximately 30 minutes
Prerequisites
Make sure you have the following in the target region you want to deploy the solution:
- for deployments in China region, the domain name has been recorded by ICP and used to apply for ACM certificate.
- the certificate of the domain name is created in ACM and verified by the domain name.
- VPC with 4 subnets (including two public subnets and two private subnets) and NAT Gateway.
- all the AWS Services listed in required AWS Services are available.
Deployment Overview
Use the following steps to deploy this solution on AWS.
Step 1. Create ACM certificate
Step 2. Validate domain ownership
Step 4. Create a record in Route 53 for resolving the domain name
Step 5. Access the Keycloak web console
Step 1. Create ACM certificate
Keycloak is required to provide HTTPS service to ensure that Keycloak can connect to the Cognito Identity pool. This means that an ACM certificate or a third-party certificate must be used. For more information, refer to How to upload an SSL certificate and import it into AWS Identity and Access Management (IAM).
This guide illustrates the use of AWS Certificate Manager (ACM) as an example. For more information, refer to AWS Certificate Manager.
-
Log in to the AWS Certificate Manager console.
-
From the top navigation bar, select a Region where you want to deploy Keycloak.
-
In the left navigation pane, choose List certificates.
-
Choose Request.
-
If you choose to deploy in the AWS Global Regions, choose Request Public certificate. If you choose to deploy in the AWS China Regions, only the option Request Public certificate is available, choose it. Then, choose Next.
-
On the Request Public certificate page, do the following:
- In the Domain names section, enter your domain name for your Keycloak service, such as keycloak.yourdomain.com.
- In the Select validation method section, choose DNS validation - recommended.
-
Choose Request.
-
In the Certificates list, the Status of the new requested Certificate ID is Pending validation.
-
Choose the new requested Certificate ID to show detailed metadata for a listed certificate.
-
In the page that Log in tos, record the following information:
- ARN in the Certificate status section.
- CNAME name in the Domains section.
- CNAME value in the Domains section.
Step 2. Validate domain ownership
NOTE: The following is to verify domain ownership through Route 53. If you use other Domain Name System (DNS), refer to the DNS provider documentation to verify your domain name ownership.
Add a CNAME record to Route 53 to authenticate that the domain name is owned and available to you. If no hosted zone has been created, refer to Configuring Amazon Route 53 as your DNS service.
-
Log in to the Amazon Route 53 console.
-
In the left navigation pane, choose Hosted zones.
-
Choose Domain name to show detailed metadata for a listed Hosted zones.
-
In the page that Log in tos, choose Create record, do the following:
- For Record name, enter the part of CNAME name recorded in Step 1. Create ACM certificate, such as _5db1a2688389b3b76ef6e2accaf9a85d.keycloak.yourdomain.com.
- For Record Type, choose CNAME.
- For Value, enter the CNAME value recorded in Step 1. Create ACM certificate, such as _1e9108227615sd40f3a767a9dc7a29cb.bpxxncpwjz.acm-validations.aws..
-
Choose Create records.
-
Go back to AWS Certificate Manager console and wait for about 5 minutes. Click the Refresh button, and wait until Status of ACM certificate changed to Issued.
Step 3. Launch the stack
You have 4 different options to launch the stack.
For Aurora Serverless deployments, Aurora Serverless v2 MySQL-Compatible is provided by default in the CloudFormation templates. For more information, see Comparison of Aurora Serverless v2 and Aurora Serverless v1 requirements.
| Option | VPC | Database | Quick Launch | Template Link |
|---|---|---|---|---|
| Option 1: Deploy Keycloak based on Aurora Serverless MySQL-Compatible from an existing VPC | Existing | Aurora Serverless MySQL-Compatible | Global China | Download |
| Option 2: Deploy Keycloak based on Aurora Serverless MySQL-Compatible from a new VPC | New | Aurora Serverless MySQL-Compatible | Global China | Download |
| Option 3: Deploy Keycloak based on Aurora MySQL-Compatible from an existing VPC | Existing | Aurora MySQL-Compatible | Global China | Download |
| Option 4: Deploy Keycloak based on Aurora MySQL-Compatible from a new VPC | New | Aurora MySQL-Compatible | Global China | Download |
Option 1: Deploy Keycloak based on Aurora Serverless MySQL-Compatible from an existing VPC
-
Log in to the AWS CloudFormation console.
-
In the left navigation pane, choose Stacks.
-
Choose Create stacks, and choose With new resources(standard).
-
On the Step 1 Specify template section, do the following:
- For Prepare template, choose Template is ready.
- For Template source, choose Upload a template file.
- Choose Choose file, and select the template file, such as keycloak-aurora-serverless-from-existing-vpc.template.
-
Choose Next.
-
On the Step 2 Specify stack details section, do the following:
- Stack name: A stack name, such as KeycloakOnAWS.
- CertificateArn: Enter the ARN recorded in Step 1. Create ACM certificate, such as arn:aws:acm:us-west-2:1436237113227:certificate/571518b3-123b-4502-1ec3-3t2sae704272.
- Hostname: Enter domain name for your Keycloak server.
- VpcId: Select from existing VPCs.
- PubSubnets: Select public subnets for ALB deployment.
- PrivSubnets: Select the private subnet for the ECS Task.
- DBSubnets: Select the private subnet for the database.
- TaskCPU: Specify the CPU for the Fargate Task running your keycloak application. The default value is 4096 (4 vCPU). See Task CPU and memory for details.
- TaskMemory: Specify the Memory for the Fargate Task running your keycloak application. The default value is 8192 MiB (8 GB). Please note that this value must be within the range allowed by the TaskCPU you select. See Task CPU and memory for details.
- MinContainers: Customize the minimum number of containers for the ECS, with a minimum value of 2.
- MaxContainers: Customize the maximum number of containers for the ECS, with a maximum value of 10.
- AutoScalingTargetCpuUtilization: The percentage of resource utilization that is ensured to be no higher, maximum 100.
- JavaOpts: JAVA_OPTS environment variable.
-
Choose Next.
-
On the Step 3 Configure Stack options section, you can add tags.
-
Choose Next.
-
Review the information for the stack. When you're satisfied with the settings, choose I acknowledge that AWS CloudFormation might create IAM resources.
-
Choose Create stack.
Option 2: Deploy Keycloak based on Aurora Serverless MySQL-Compatible from a new VPC
-
Log in to the AWS CloudFormation console.
-
In the left navigation pane, choose Stacks.
-
Choose Create stacks, and choose With new resources(standard).
-
On the Step 1 Specify template section, do the following:
- For Prepare template, choose Template is ready.
- For Template source, choose Upload a template file.
- Choose Choose file, and select the template file, such as keycloak-aurora-serverless-from-new-vpc.template.
-
Choose Next.
-
On the Step 2 Specify stack details section, do the following:
- Stack name: A stack name, such as KeycloakOnAWS.
- CertificateArn: Enter the ARN recorded in Step 1. Create ACM certificate, such as arn:aws:acm:us-west-2:1436237113227:certificate/571518b3-123b-4502-1ec3-3t2sae704272.
- Hostname: Enter domain name for your Keycloak server.
- TaskCPU: Specify the CPU for the Fargate Task running your keycloak application. The default value is 4096 (4 vCPU). See Task CPU and memory for details.
- TaskMemory: Specify the Memory for the Fargate Task running your keycloak application. The default value is 8192 MiB (8 GB). Please note that this value must be within the range allowed by the TaskCPU you select. See Task CPU and memory for details.
- MinContainers: Customize the minimum number of containers for the ECS, with a minimum value of 2.
- MaxContainers: Customize the maximum number of containers for the ECS, with a maximum value of 10.
- AutoScalingTargetCpuUtilization: The percentage of resource utilization that is ensured to be no higher, maximum 100.
- JavaOpts: JAVA_OPTS environment variable.
-
Choose Next.
-
On the Step 3 Configure Stack options section, you can add tags.
-
Choose Next.
-
Review the information for the stack. When you're satisfied with the settings, choose I acknowledge that AWS CloudFormation might create IAM resources.
-
Choose Create stack.
Option 3: Deploy Keycloak based on Aurora MySQL-Compatible from an existing VPC
-
Log in to the AWS CloudFormation console.
-
In the left navigation pane, choose Stacks.
-
Choose Create stacks, and choose With new resources(standard).
-
On the Step 1 Specify template section, do the following:
- For Prepare template, choose Template is ready.
- For Template source, choose Upload a template file.
- Choose Choose file, and select the template file, such as keycloak-from-existing-vpc.template.
-
Choose Next.
-
On the Step 2 Specify stack details section, do the following:
- Stack name: A stack name, such as KeycloakOnAWS.
- CertificateArn: Enter the ARN recorded in Step 1. Create ACM certificate, such as arn:aws:acm:us-west-2:1436237113227:certificate/571518b3-123b-4502-1ec3-3t2sae704272.
- Hostname: Enter domain name for your Keycloak server.
- DatabaseInstanceType: Select the RDS instance type.
- VpcId: Select from existing VPCs.
- PubSubnets: Select public subnets for ALB deployment.
- PrivSubnets: Select the private subnet for the ECS Task.
- DBSubnets: Select the private subnet for the RDS database.
- TaskCPU: Specify the CPU for the Fargate Task running your keycloak application. The default value is 4096 (4 vCPU). See Task CPU and memory for details.
- TaskMemory: Specify the Memory for the Fargate Task running your keycloak application. The default value is 8192 MiB (8 GB). Please note that this value must be within the range allowed by the TaskCPU you select. See Task CPU and memory for details.
- MinContainers: Customize the minimum number of containers for the ECS, with a minimum value of 2.
- MaxContainers: Customize the m2ximum number of containers for the ECS, with a maximum value of 10.
- AutoScalingTargetCpuUtilization: The percentage of resource utilization that is ensured to be no higher, maximum 100.
- JavaOpts: JAVA_OPTS environment variable.
-
Choose Next.
-
On the Step 3 Configure Stack options section, you can add tags.
-
Choose Next.
-
Review the information for the stack. When you're satisfied with the settings, choose I acknowledge that AWS CloudFormation might create IAM resources.
-
Choose Create stack.
Option 4: Deploy Keycloak based on Aurora MySQL-Compatible from a new VPC
-
Log in to the AWS CloudFormation console.
-
In the left navigation pane, choose Stacks.
-
Choose Create stacks, and choose With new resources(standard).
-
On the Step 1 Specify template section, do the following:
- For Prepare template, choose Template is ready.
- For Template source, choose Upload a template file.
- Choose Choose file, and select the template file, such as keycloak-from-new-vpc.template.
-
Choose Next.
-
On the Step 2 Specify stack details section, do the following:
- Stack name: A stack name, such as KeycloakOnAWS.
- CertificateArn: Enter the ARN recorded in Step 1. Create ACM certificate, such as arn:aws:acm:us-west-2:1436237113227:certificate/571518b3-123b-4502-1ec3-3t2sae704272`.
- Hostname: Enter domain name for your Keycloak server.
- DatabaseInstanceType: Select the RDS instance type.
- TaskCPU: Specify the CPU for the Fargate Task running your keycloak application. The default value is 4096 (4 vCPU). See Task CPU and memory for details.
- TaskMemory: Specify the Memory for the Fargate Task running your keycloak application. The default value is 8192 MiB (8 GB). Please note that this value must be within the range allowed by the TaskCPU you select. See Task CPU and memory for details.
- MinContainers: Customize the minimum number of containers for the ECS, with a minimum value of 2.
- MaxContainers: Customize the maximum number of containers for the ECS, with a maximum value of 10.
- AutoScalingTargetCpuUtilization: The percentage of resource utilization that is ensured to be no higher, maximum 100.
- JavaOpts: JAVA_OPTS environment variable.
-
Choose Next.
-
On the Step 3 Configure Stack options section, you can add tags.
-
Choose Next.
-
Review the information for the stack. When you're satisfied with the settings, choose I acknowledge that AWS CloudFormation might create IAM resources.
-
Choose Create stack.
Step 4. Create a record in Route 53 for resolving the domain name
-
Log in to the AWS CloudFormation console.
-
In the left navigation pane, choose Stacks.
-
Choose the new created Stack name to show detailed metadata, such as KeycloakOnAWS.
-
Choose Outputs.
-
Enter
KeyCloakKeyCloakContainerSerivceEndpointURLin the Filter box, and click Enter. List filtered result, such as KeyCloakKeyCloakContainerSerivceEndpointURL9C81E19A. -
Copied the Value, such as Keycl-KeyCl-1WIJGTSV19UTB-541714271.xx-xxx-1.elb.amazonaws.com.
-
Log in to the Amazon Route 53 console.
-
In the left navigation pane, choose Hosted zones.
-
Choose Domain name to show detailed metadata for a listed Hosted zones. Choose Create record, do the following:
- For Record name, enter subdomain for your keycloak services, such as keycloak.yourdomain.com.
- For Record Type, choose CNAME.
- For Value, paste the DNS name copied earlier, such as Keycl-KeyCl-1WIJGTSV19UTB-541714271.xx-xxx-1.elb.amazonaws.com.
-
Choose Create records.
Step 5. Access the Keycloak web console
-
Log in to the AWS Secrets Manager console.
-
From the top navigation bar, select the Region where your keycloak deployed.
-
In the left navigation pane, choose Secrets.
-
Enter
KeyCloakKCSecretin the Filter box, and click Enter. Choose filtered results, such as KeyCloakKCSecretF8498E5C-VVSujKlsllRI. -
Choose Retrieve secret value in the Secret value section.
-
Copy the username and password.
-
Enter your keycloak domain name in the address bar of your browser, such as https://keycloak.yourdomain.com.
-
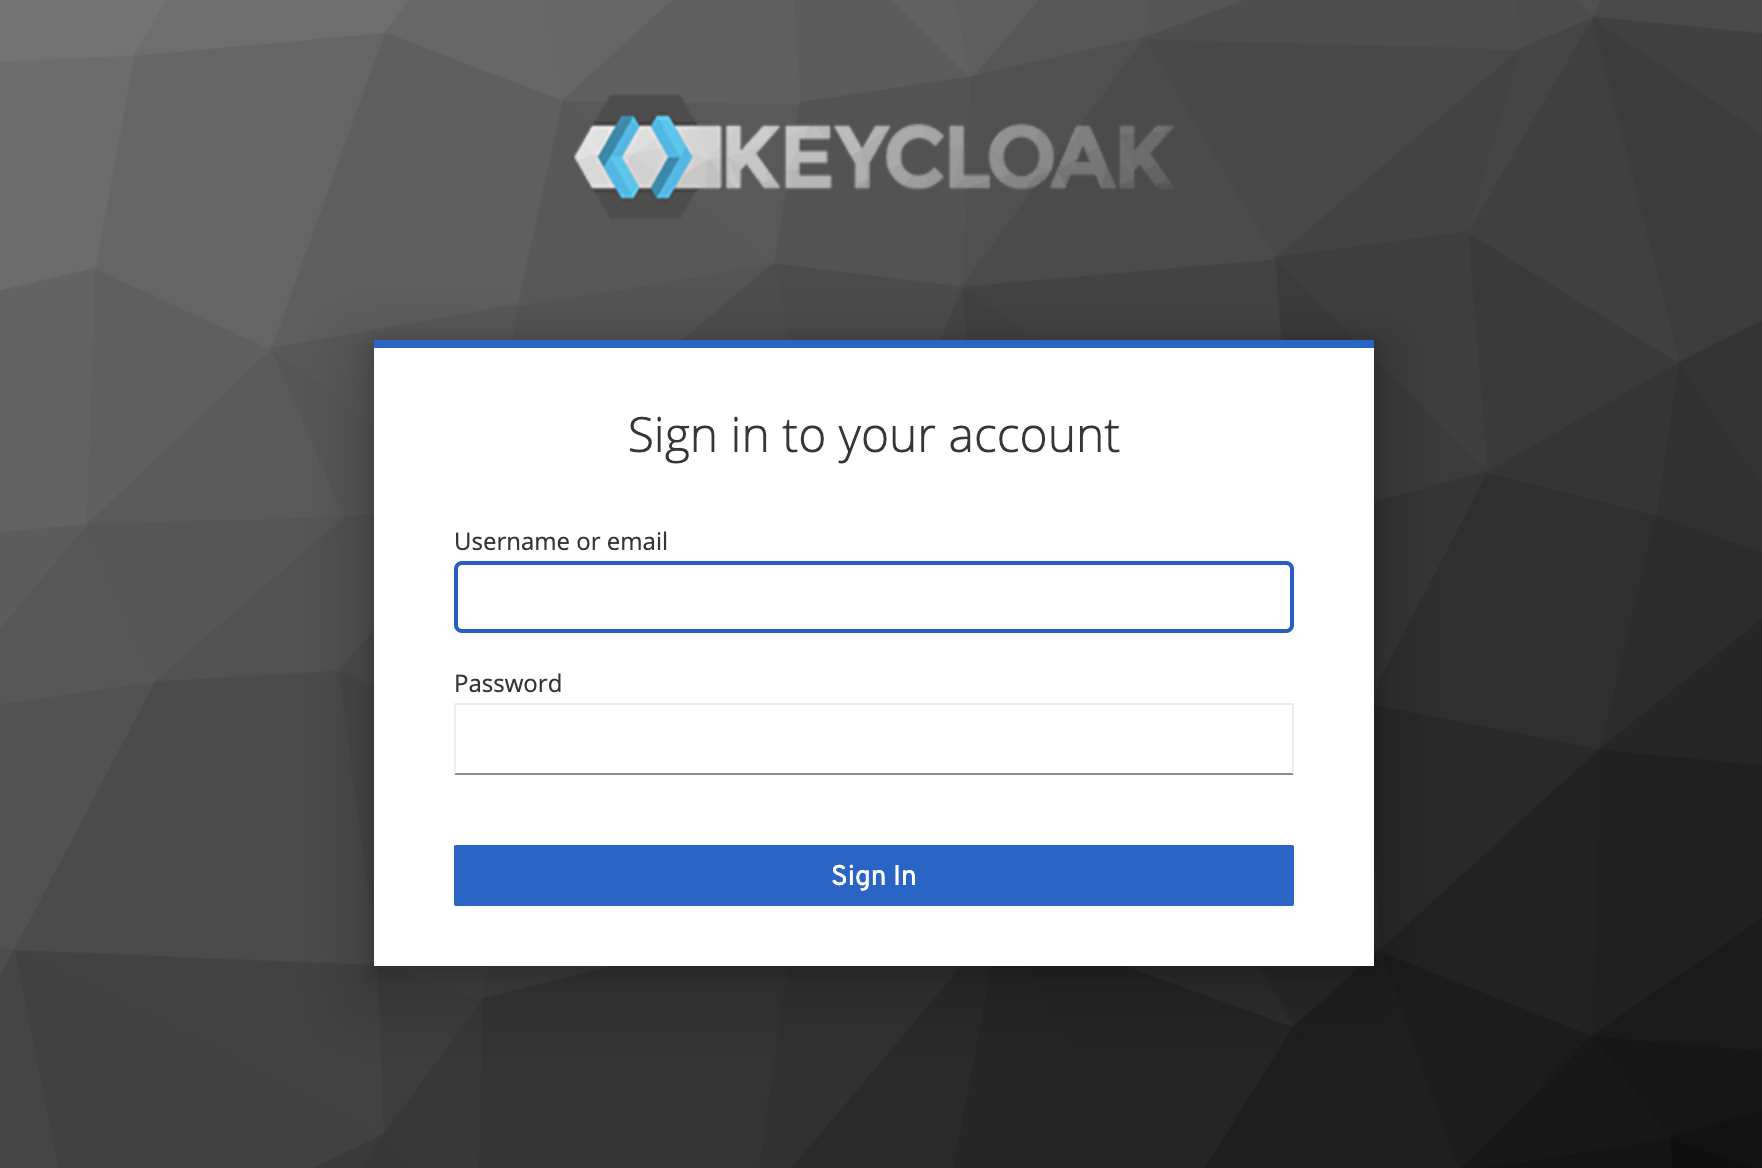
Click the Administration Console link.
-
Enter username and password copied earlier, and click Sign In.