Spawn on Path Actor
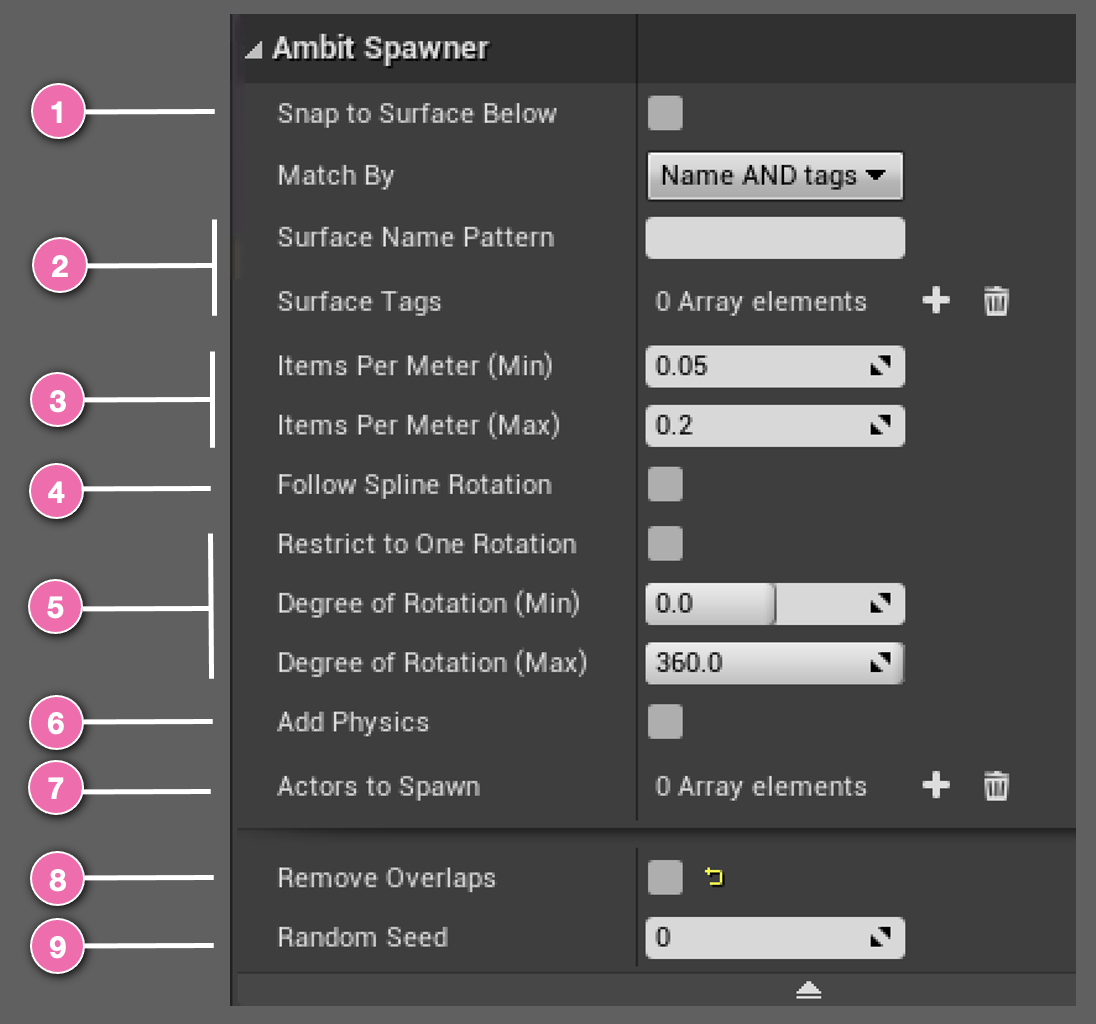
The Spawn on Path actor works by using the position of the Spawn on Path and the pre-made spline component attached to the actor to determine the path of the line or curve along which obstacles will be spawned. If the spline curve traverses multiple surface types, you can fine tune the Spawn on Path's behavior by
Spawn on Path will use the
Using Spawn on Path
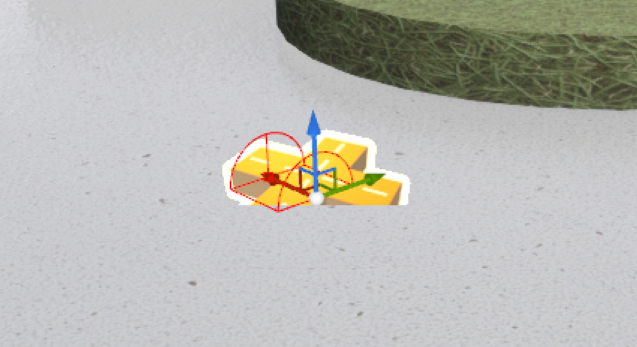
After adding a Spawn on Path to your map you will see an icon like this. You can place it at any 3D location you'd like. The position of the Spawn on Path instance is the starting point of the spline path. You can transform the Spawn on Path instance by rotation, translation, and scaling to adjust the orientation, position, and length of the spline. The spline component's spline points can be moved, created, and deleted directly in the viewport or through the Selected Points category of the Details panel.
If you specified surfaces for Spawn on Path using surface name pattern and/or tags, or if you choose Snap to Surface Below, Spawn on Path will calculate the appropriate height (Z-axis) for each of the spawned obstacles. If no surfaces are specified and Snap to Surface Below, then Spawn on Path will use its height for all of the spawned obstacles.
Examples
It's easiest to understand the effect of each of the Spawn on Path parameters by seeing them in action. You will find a variety of examples in the Spawn on Path Examples section.