Create a Workspace
A list of supported browsers for AWS Cloud9 is found here.
Ad blockers, javascript disablers, and tracking blockers should be disabled for the cloud9 domain, or connecting to the workspace might be impacted. Cloud9 requires third-party-cookies. You can whitelist the specific domains.
Launch Cloud9 in the region selected previously
Navigate to the Cloud9 console.
- Select Create environment
- Name it MovingUpTheStackWorkshop, click Next step.
- Since we only need to access our Cloud9 environment via web browser, please select the Create a new no-ingress EC2 instance for environment (access via Systems Manager) under the Environment Type.
- Choose t3.small for instance type, go through the wizard with the default values and click Create environment
When it comes up, customize the environment by:
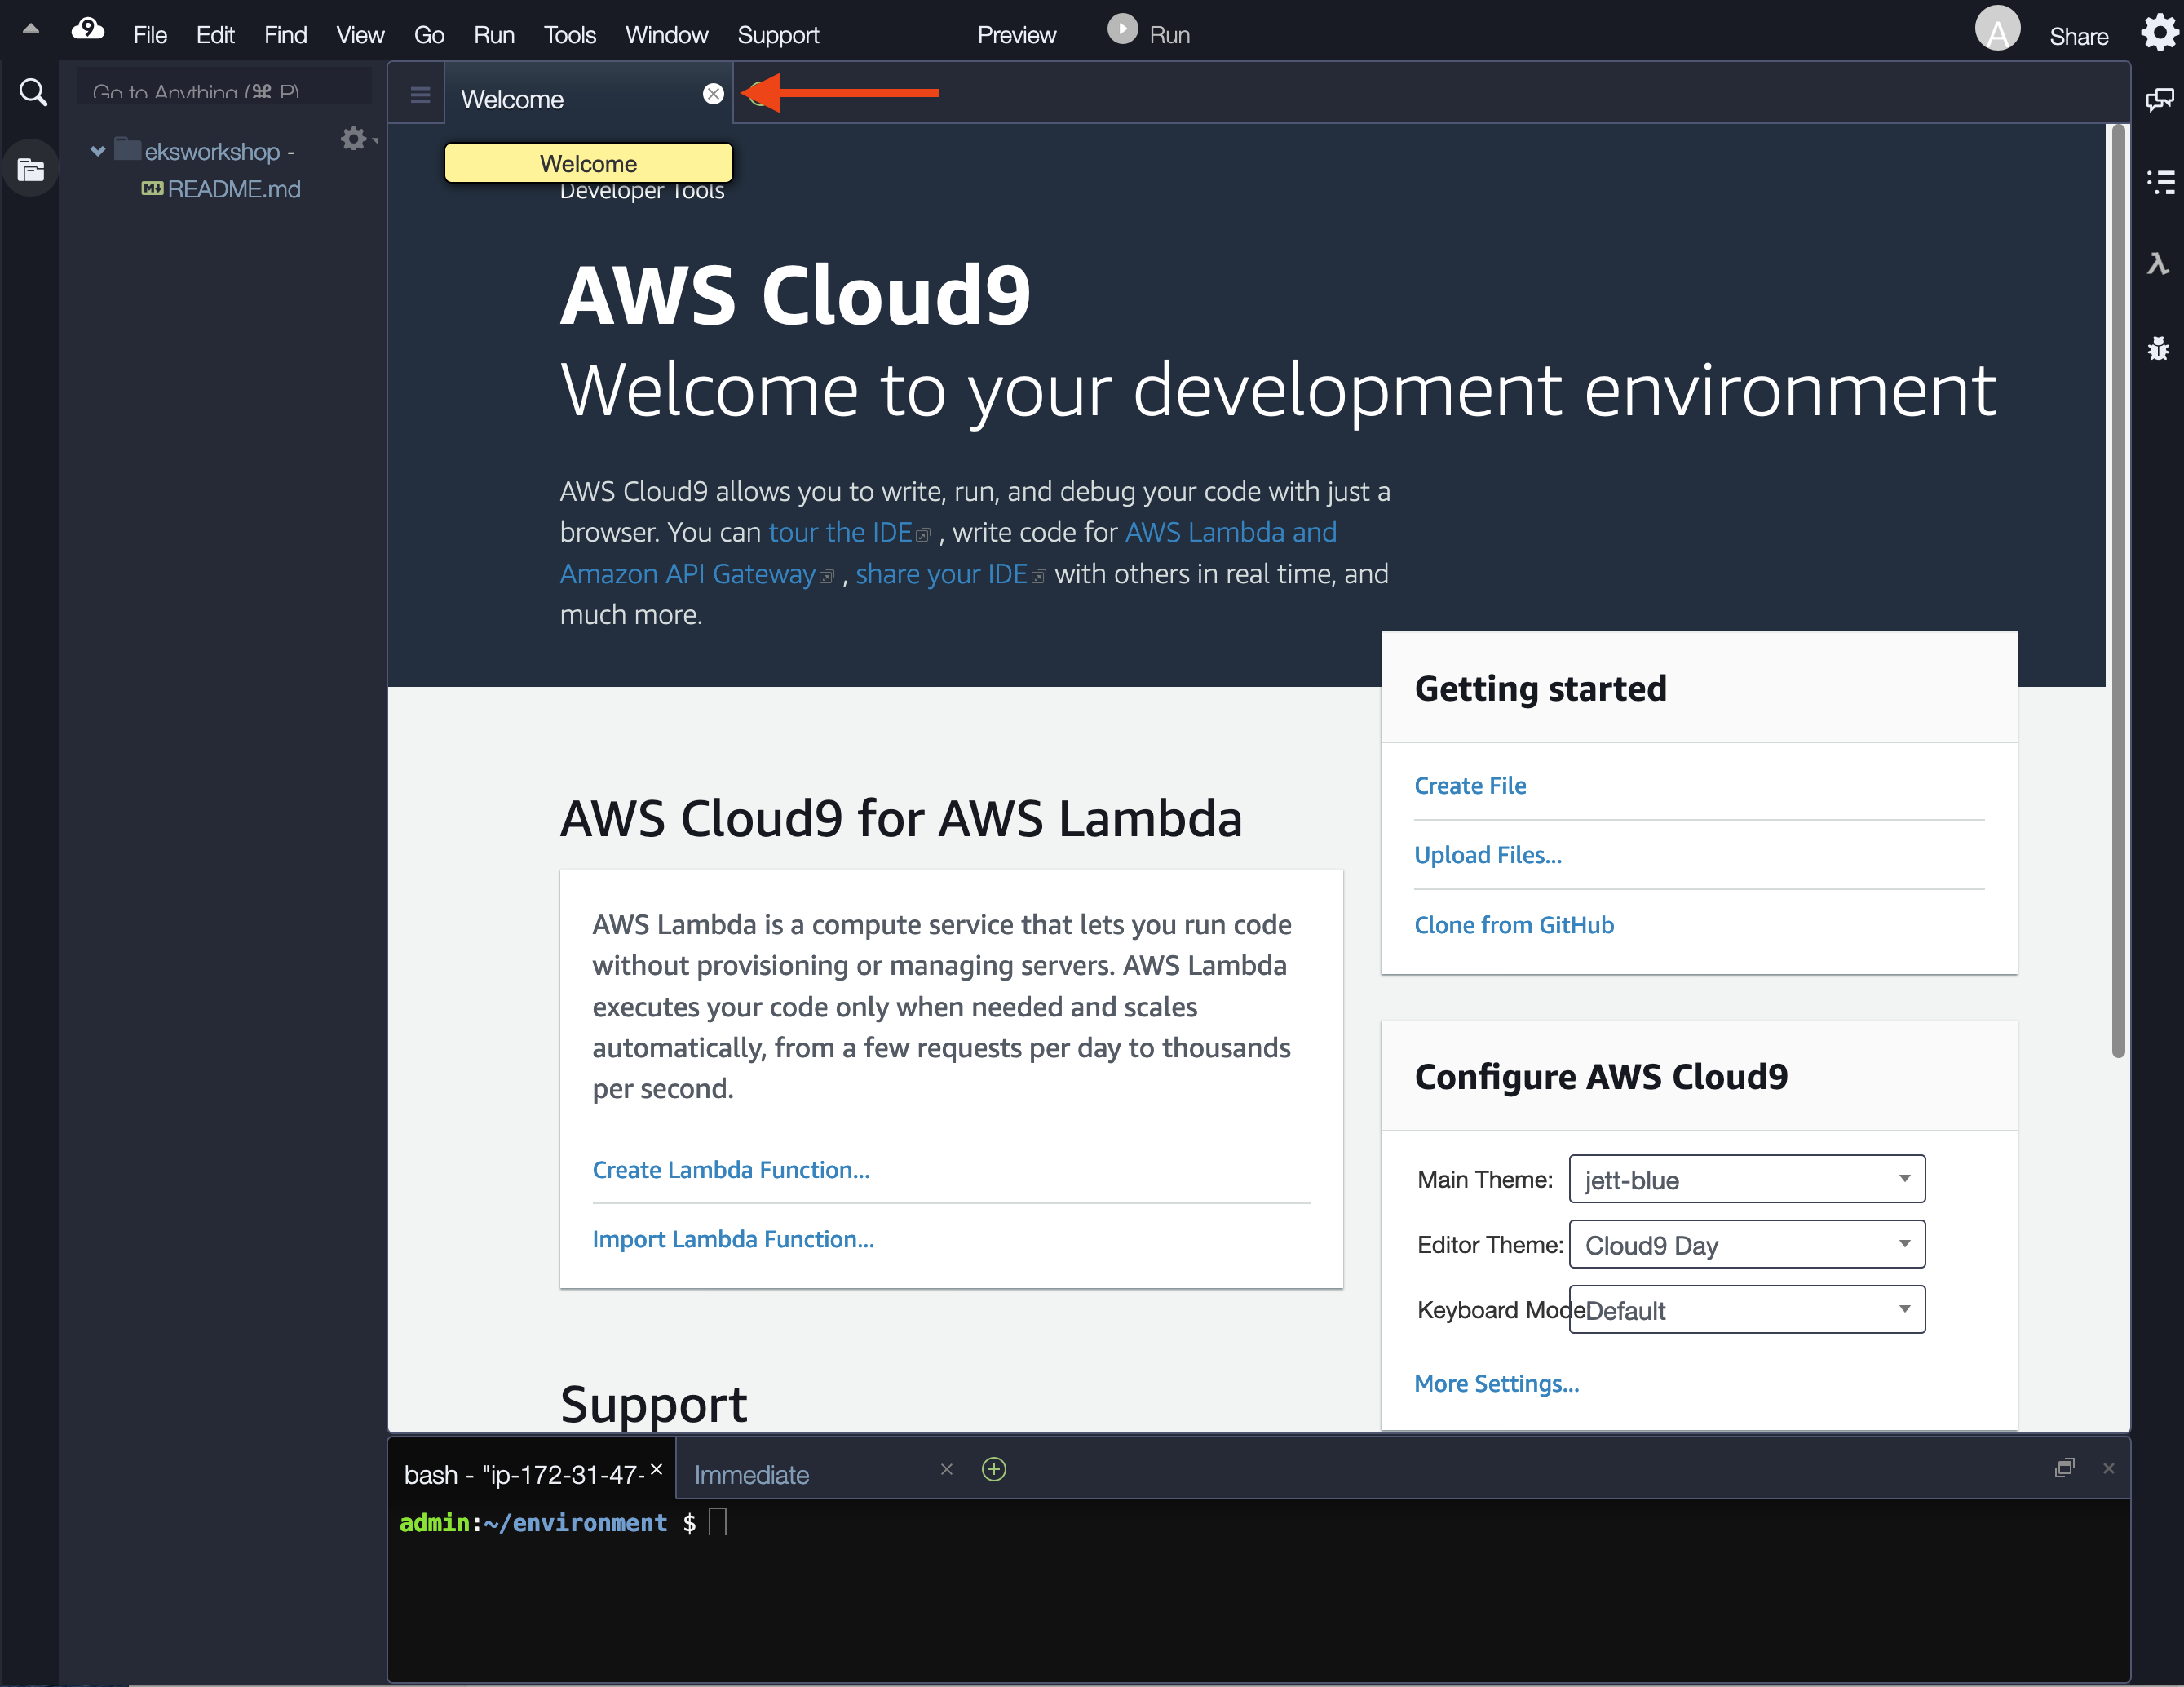
- Closing the Welcome tab

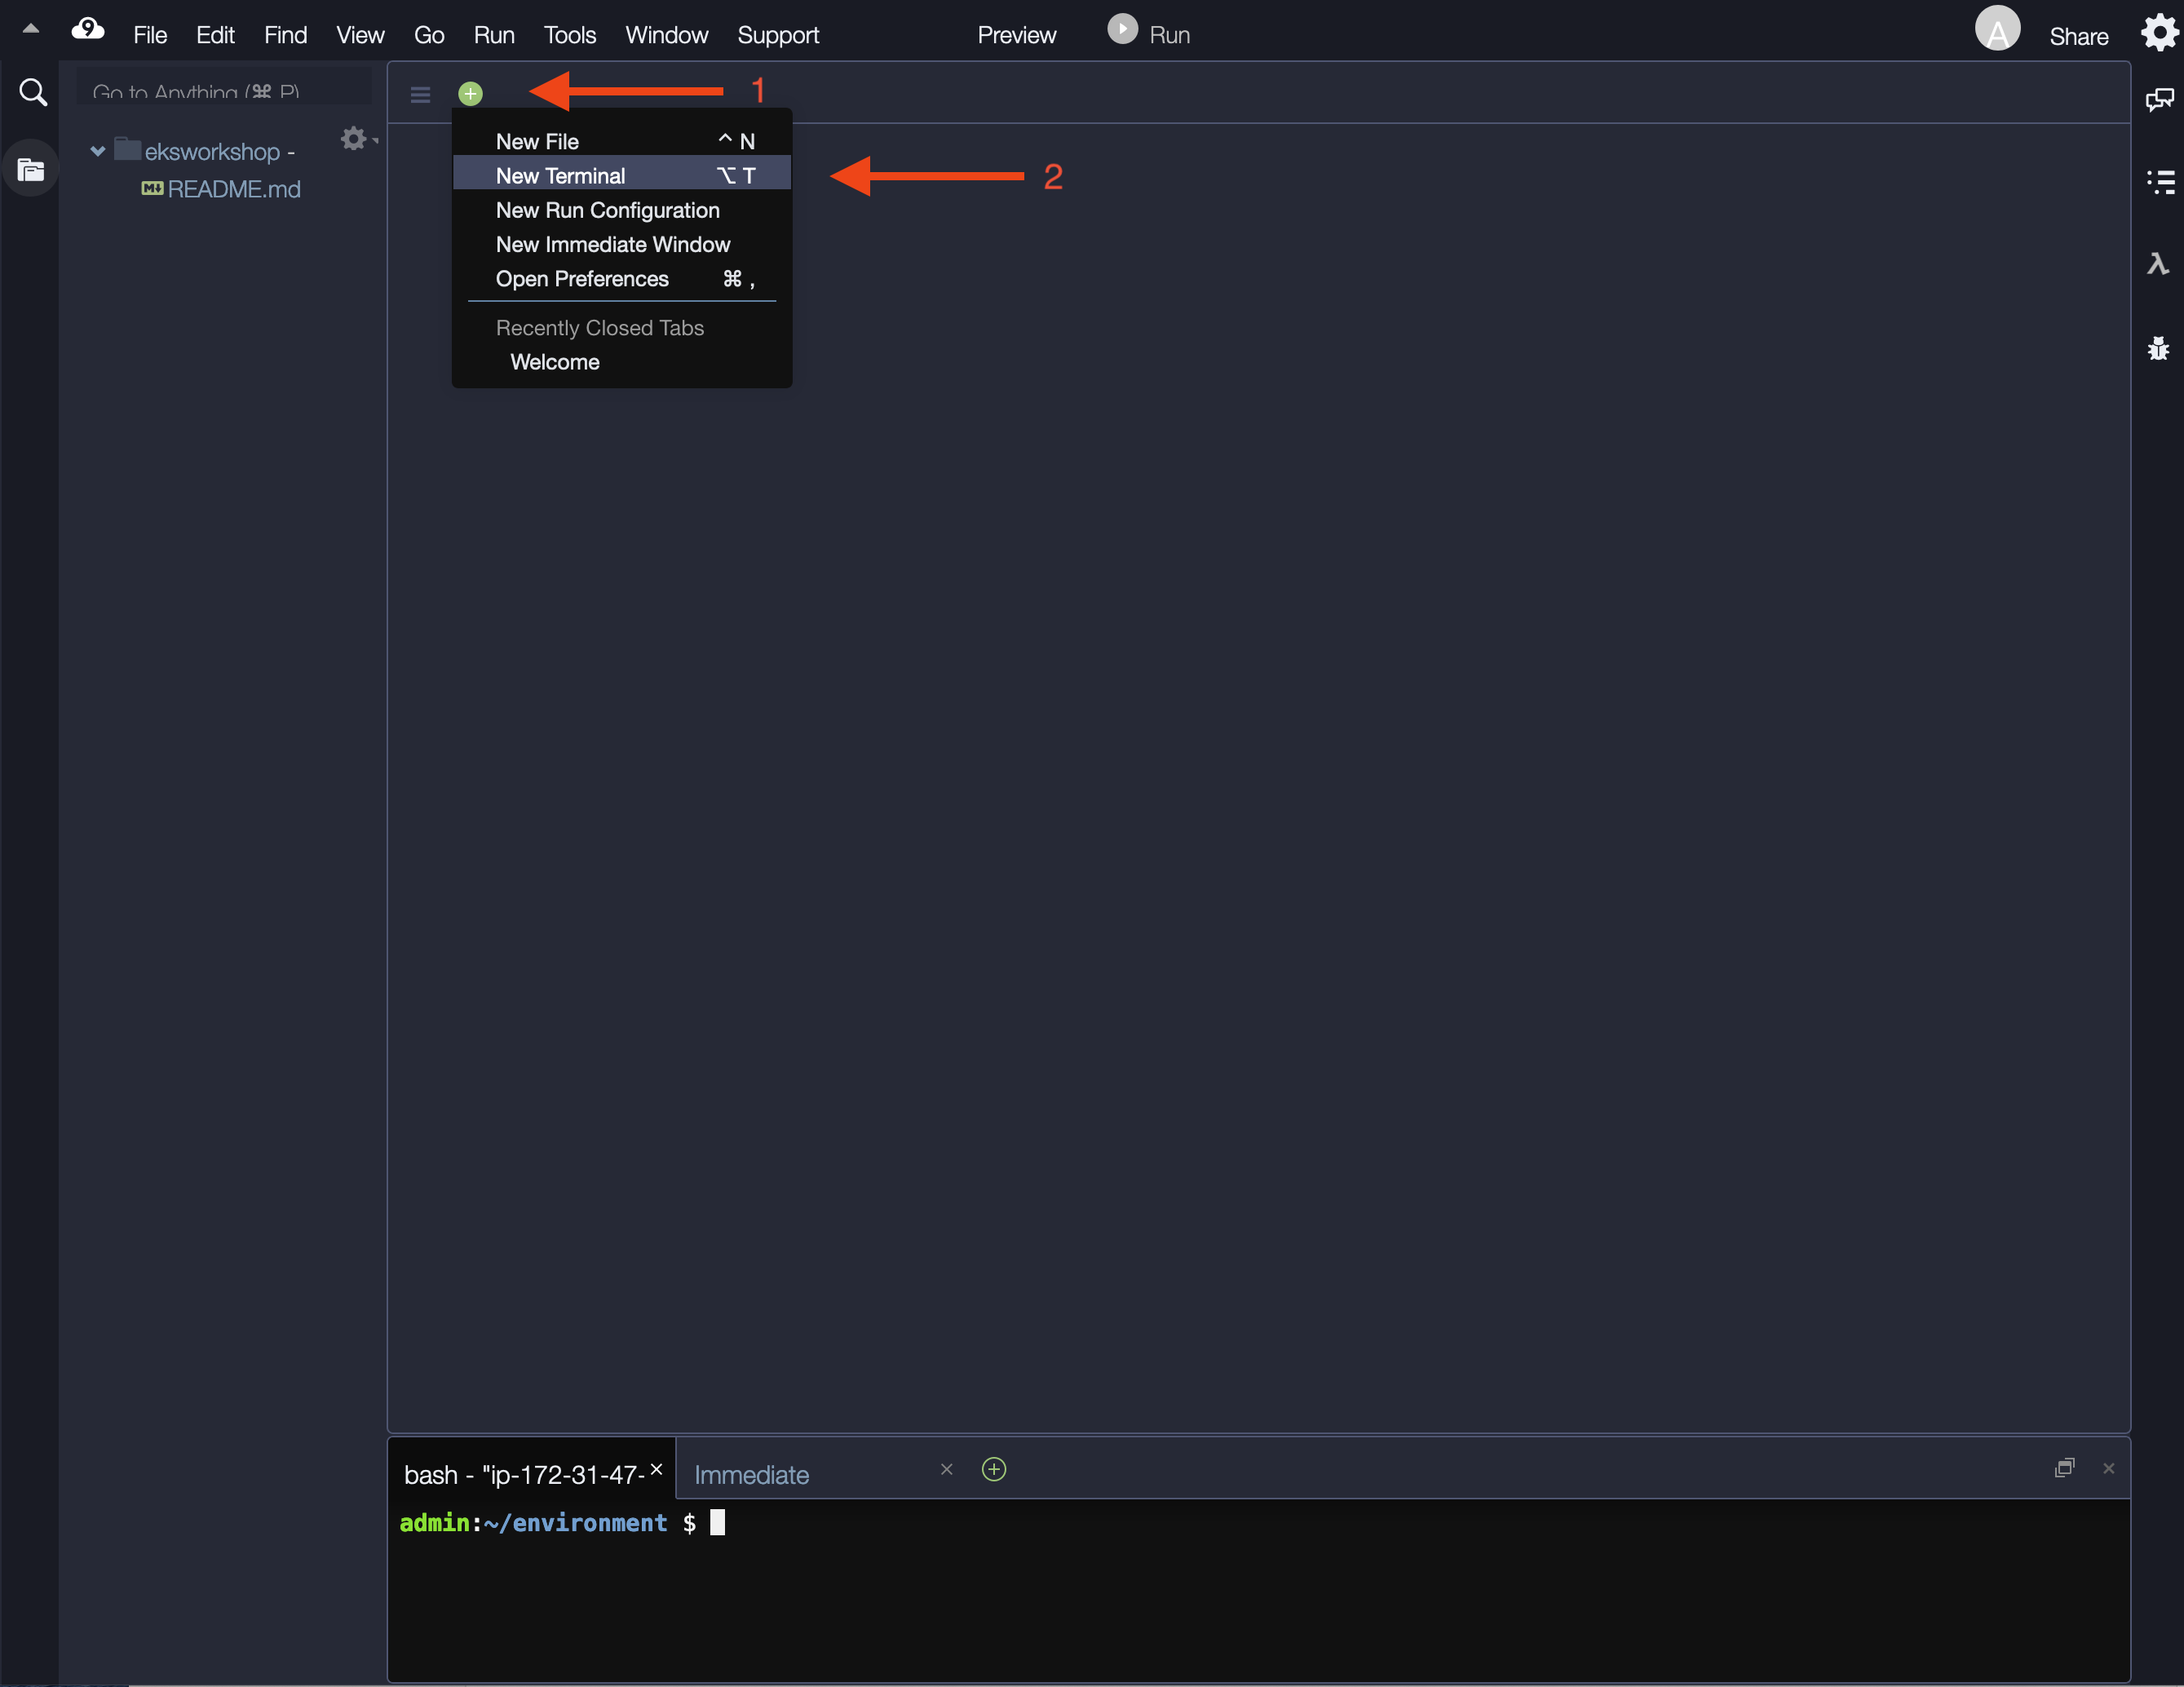
- Opening a new terminal tab in the main work area

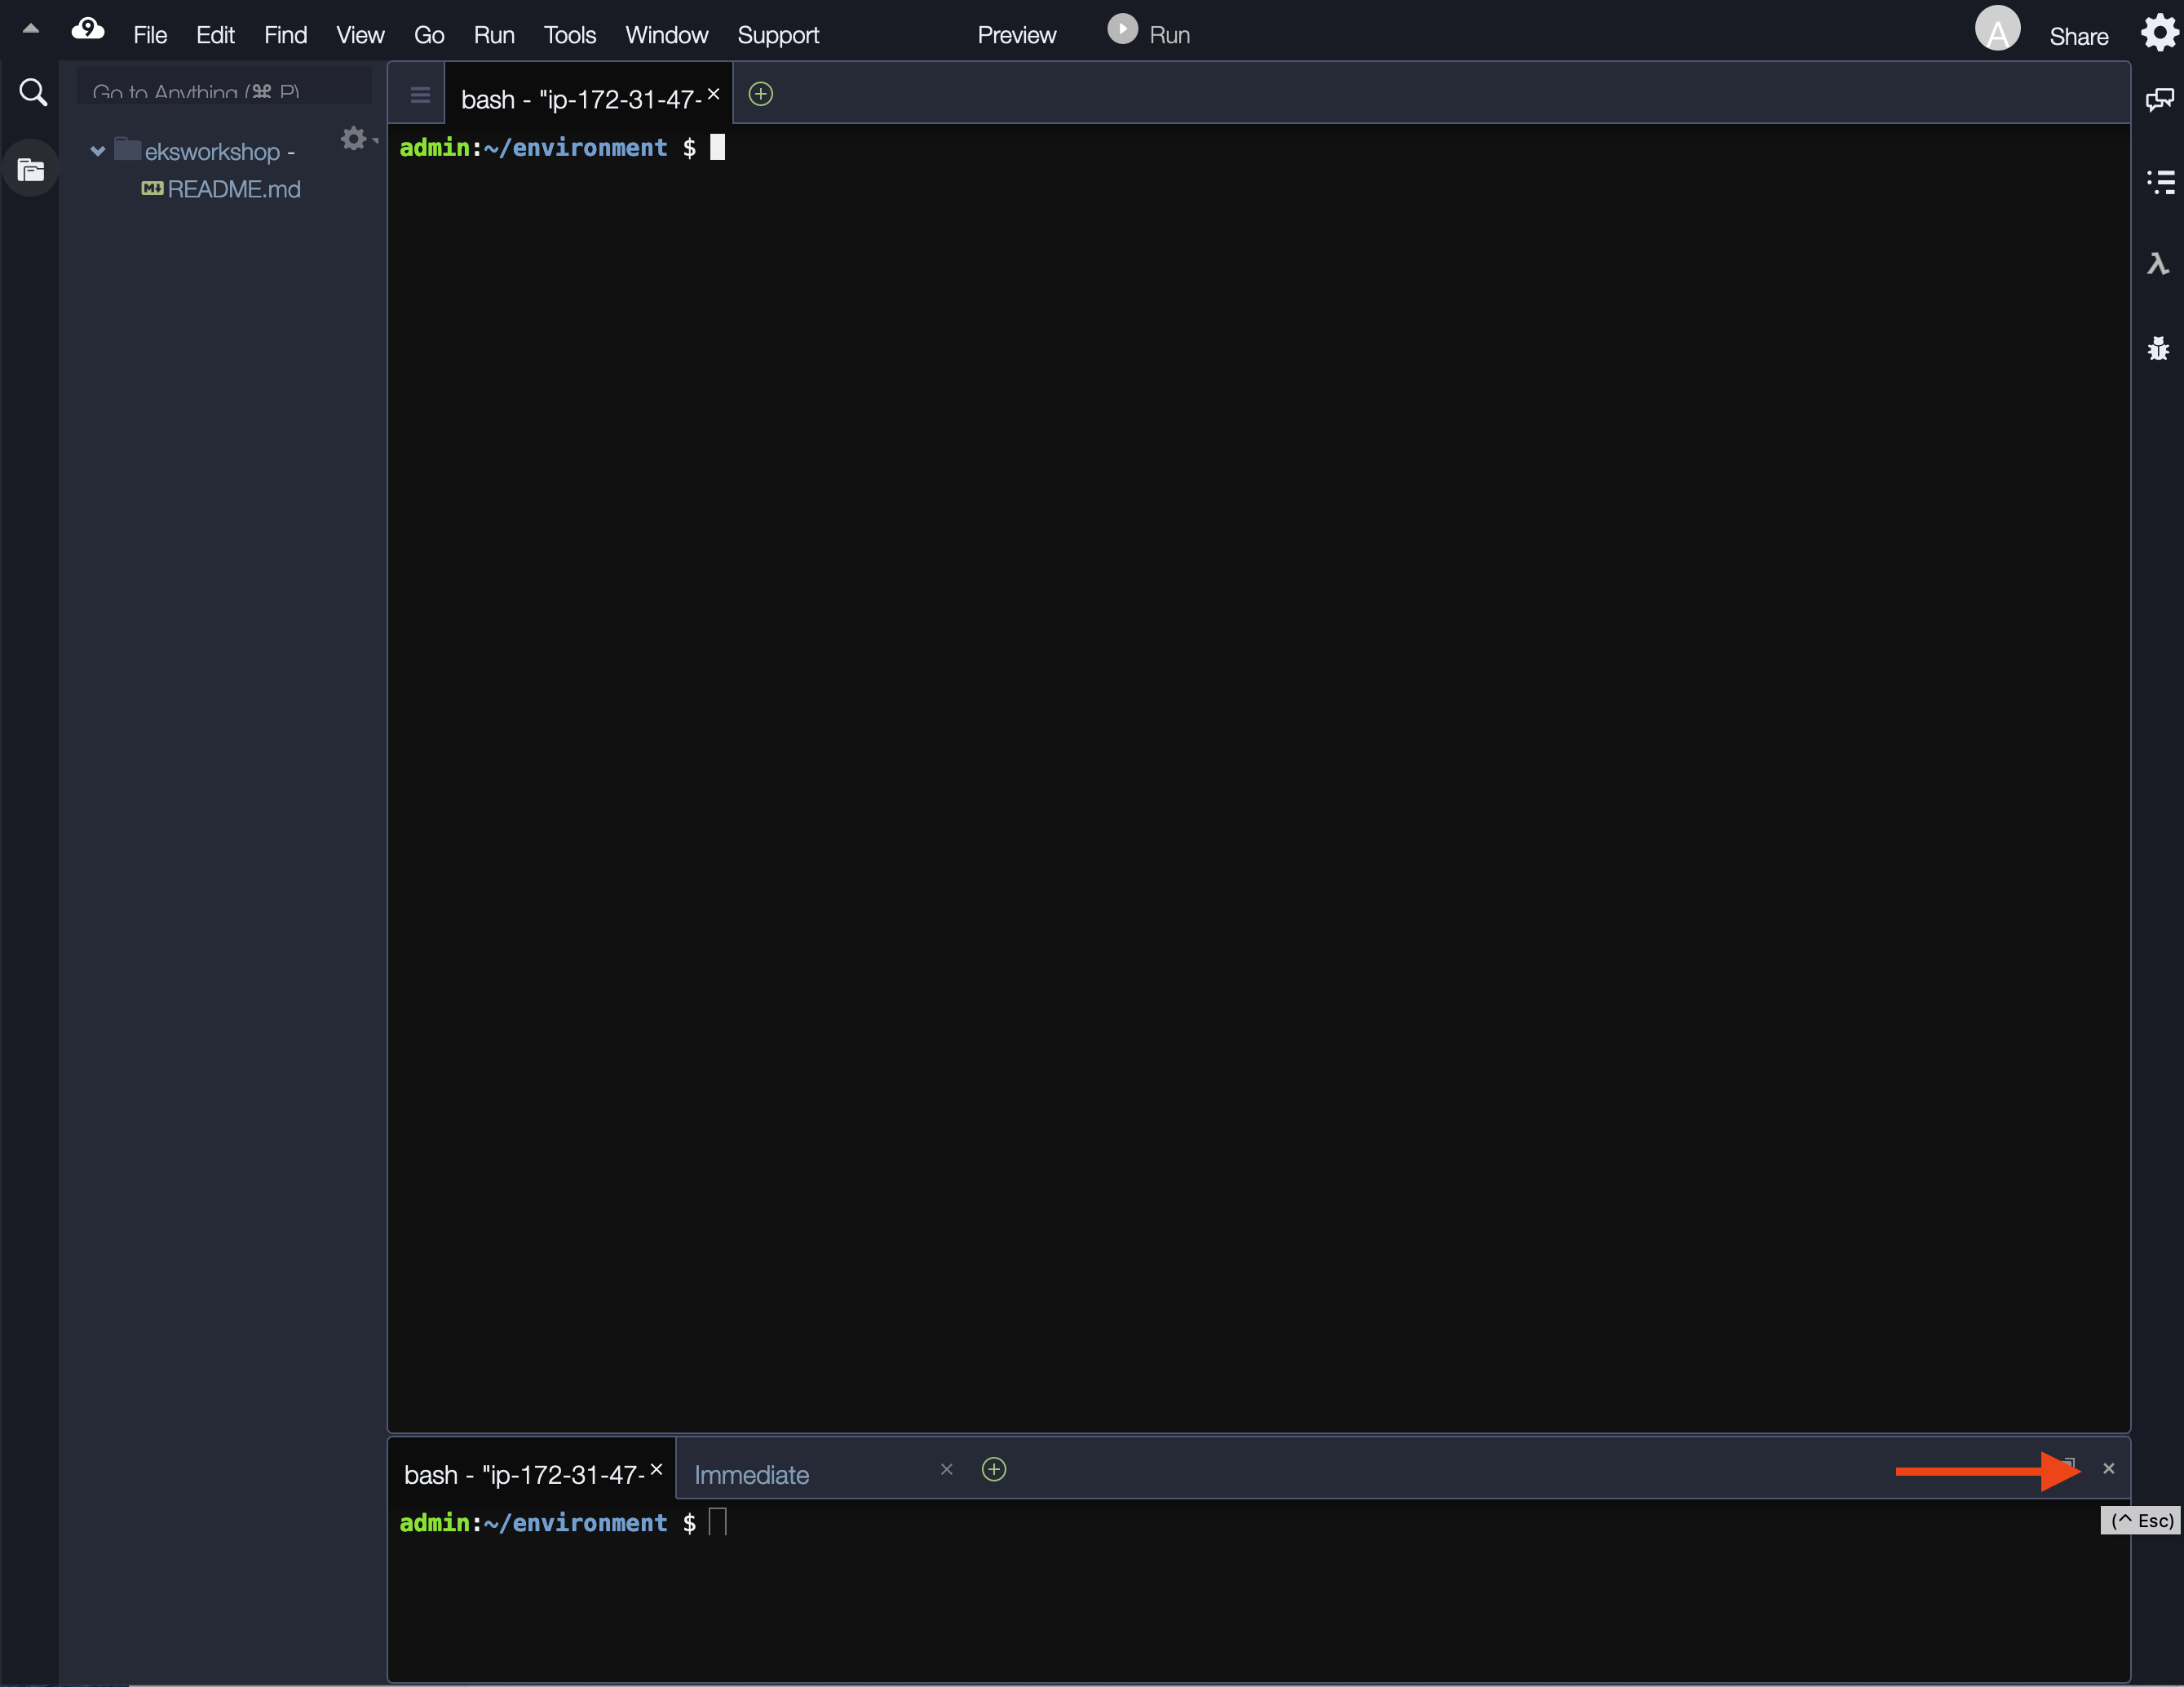
- Closing the lower work area

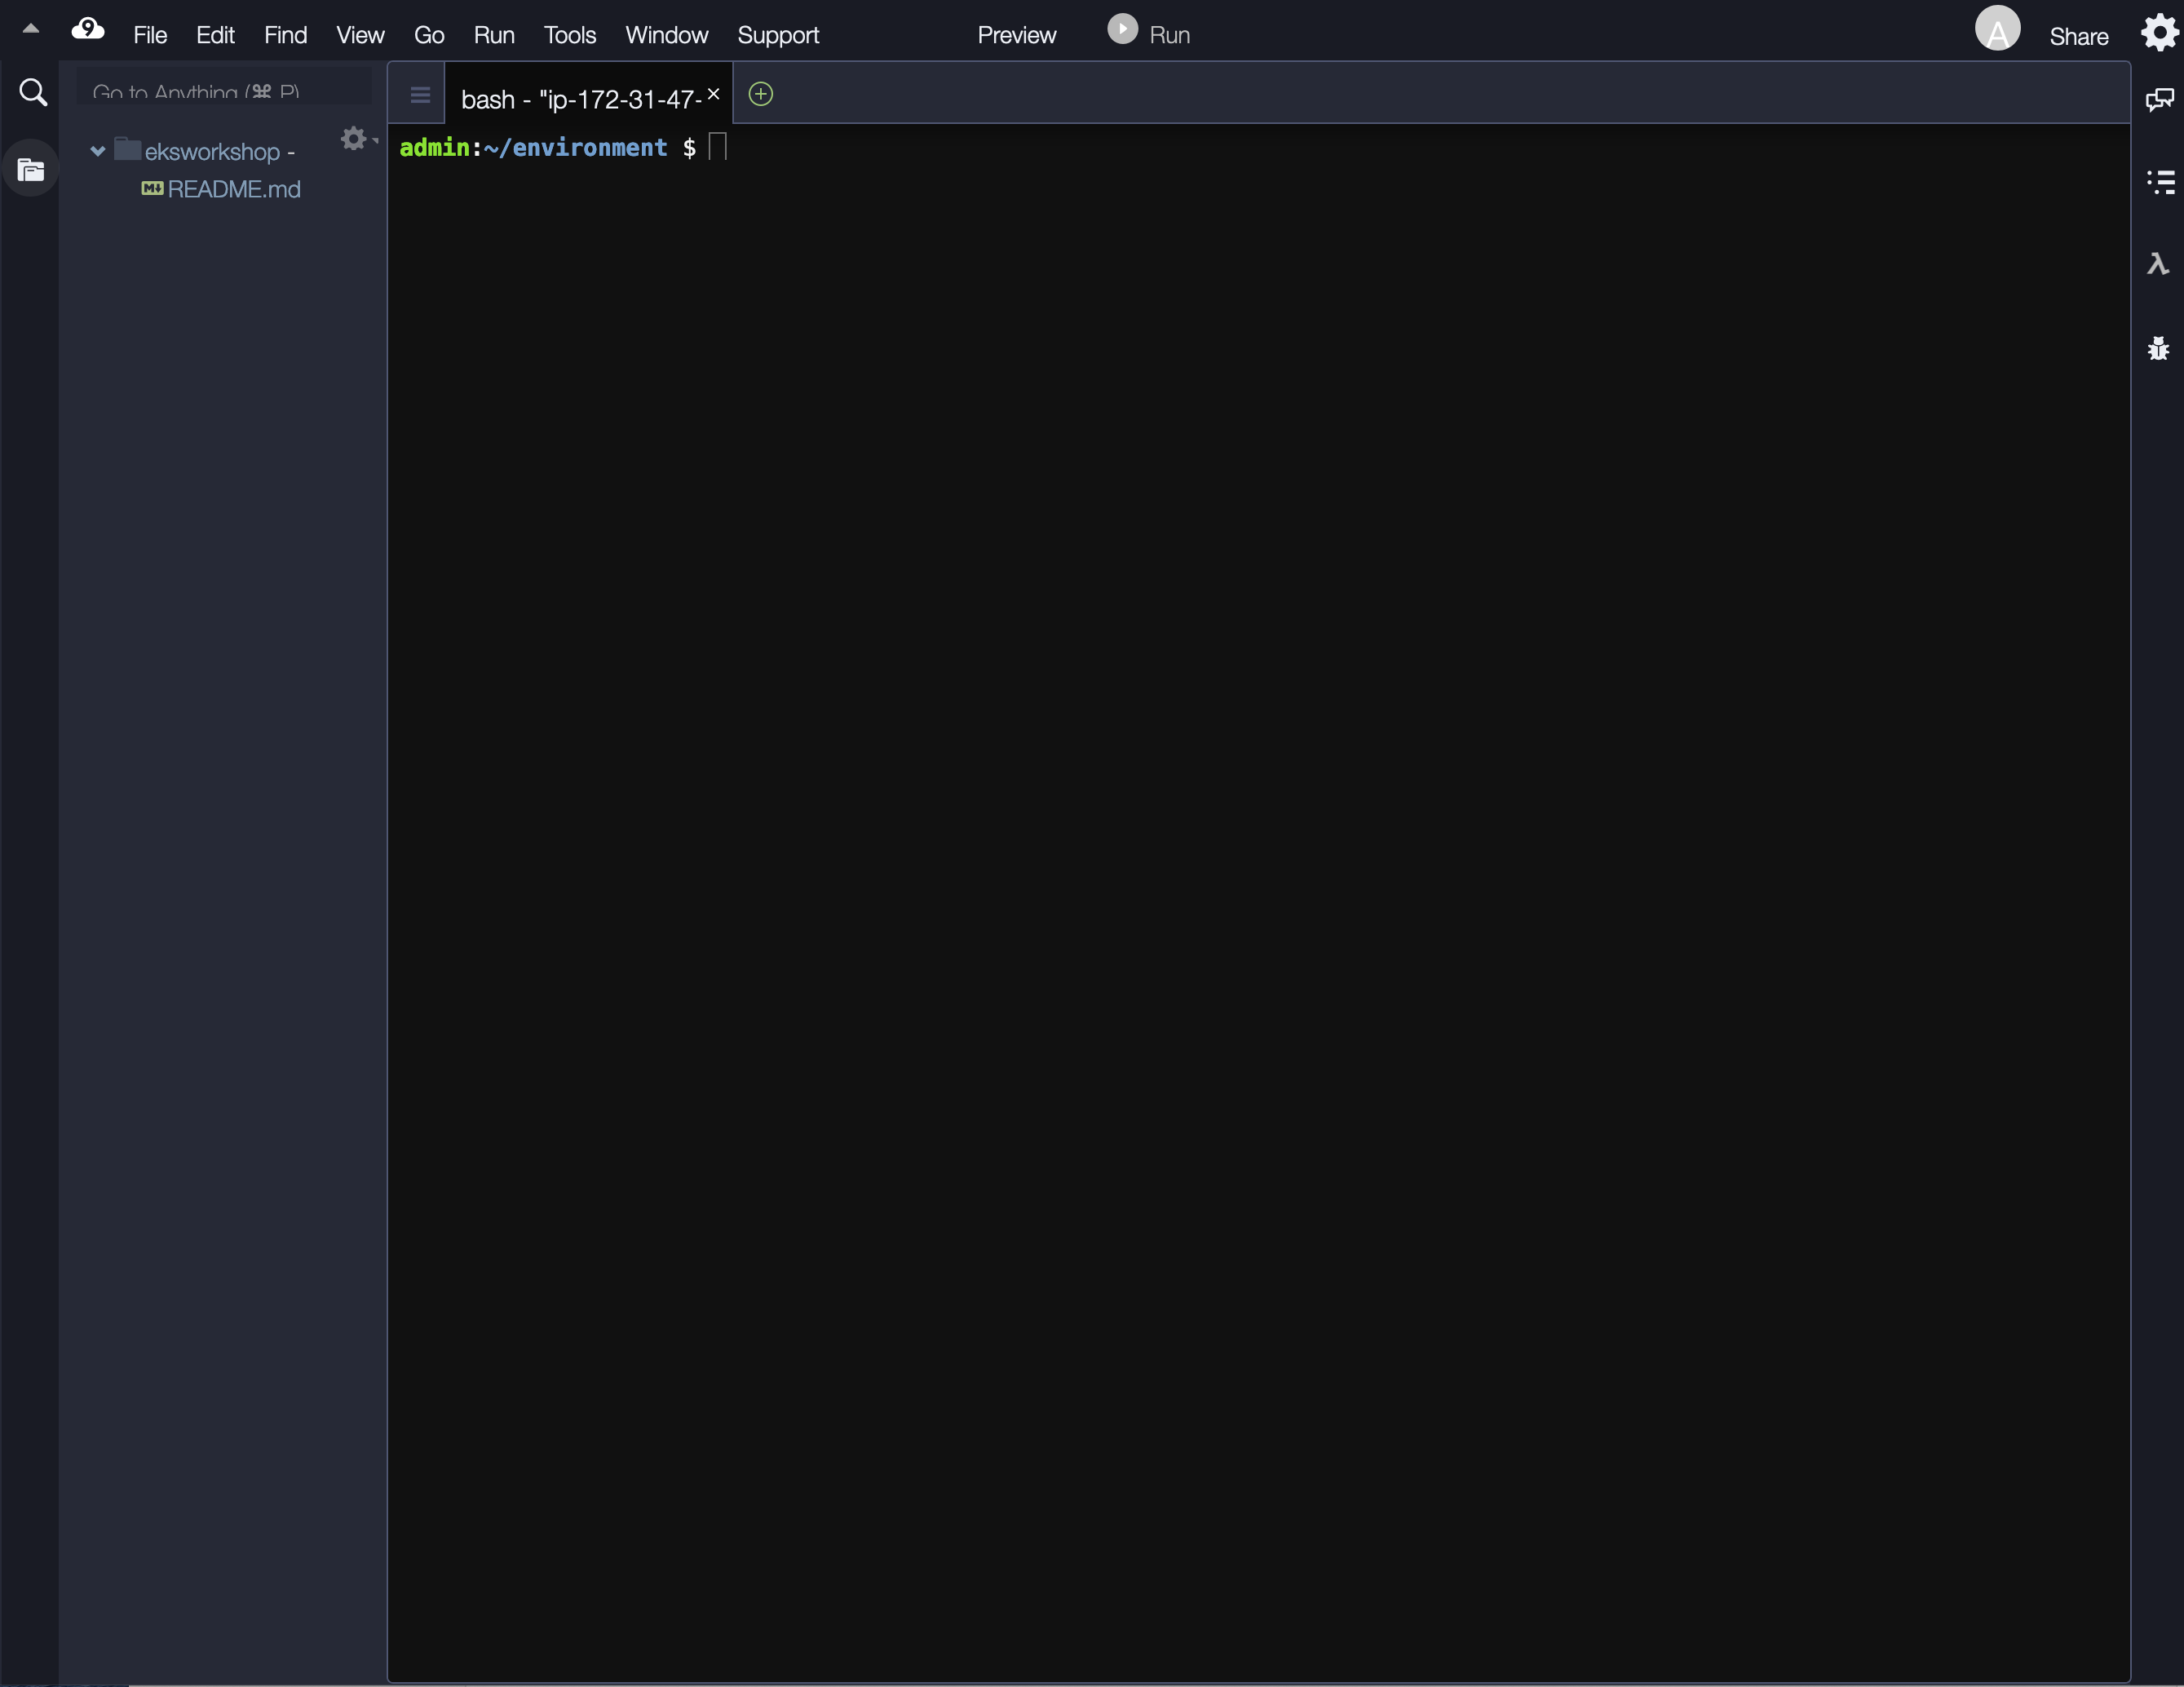
- Your workspace should now look like this

Update tools and dependencies
The instructions in this workshop assume you are using a bash shell in a linux-like environment. They also rely on a number of tools. Follow these instructions to install the required tools in a cloud9 workspace:
Copy/Paste the following code in your cloud9 terminal (you can paste the whole block at once).
sudo yum update -y
sudo yum -y install jq gettext bash-completion moreutils

cat <<EOF >> ~/.bashrc
export AWS_DEFAULT_REGION=$(curl -s 169.254.169.254/latest/dynamic/instance-identity/document | jq -r '.region')
export ACCOUNT_ID=`aws sts get-caller-identity --query Account --output text`
EOF
source ~/.bashrc

# Upgrade AWS CLI
curl "https://awscli.amazonaws.com/awscli-exe-linux-x86_64.zip" -o "awscliv2.zip"
unzip awscliv2.zip
sudo ./aws/install

npm install -g c9
curl "https://s3.amazonaws.com/session-manager-downloads/plugin/latest/linux_64bit/session-manager-plugin.rpm" -o "session-manager-plugin.rpm"
sudo yum install -y session-manager-plugin.rpm