Appendix
Build GameLift Binary
Game Server and Game Client were developed and built based on Visual Studio 2015. We recommend you to build source code compatible to the environment.
-
Choose GomokuClient or GomokuServer from given source codes.
-
Open project on Visual Studio or compatible IDE. Projects have dependencies based on Nuget Package, and also for DLL Dependencies for AWS SDK.
-
Set project like below, and build.
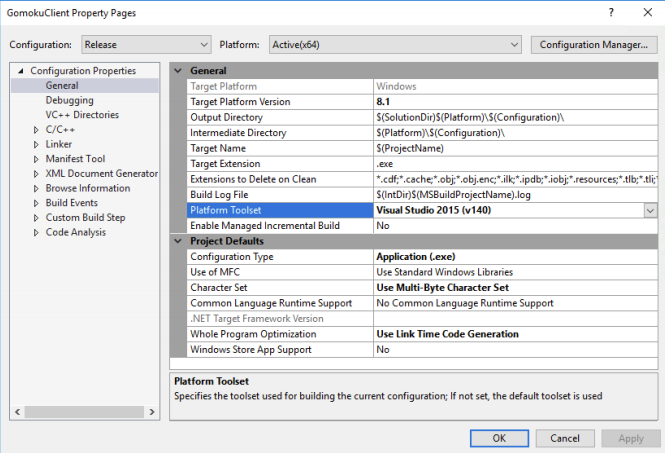
We recommend you to set “Release” as build environment. Release folders have already included related dependencies. You can also debug your project with including dependencies.
GameLift Classic Project and GameLift FlexMatch Project depend on different version of SDK. So those have different functions on their implementations.
Connect to GameLift Game Server
GameLift manage game server resources, but we need to access game server for some reasons such as debugging or accessing logs. If you need to access game server, you can follow this guide below.
You need to use CLI for commands.
- Getting instance list from FleetID of the fleet with this command.
aws gamelift describe-instances --fleet-id fleet-4b7fc542-cb08-4f65-908c-737f64ca2e8f --region ap-northeast-2
- We could get instance-id of the instance that we want to access. Therefore we can use this command below using FleetId and InstanceId.
aws gamelift get-instance-access --fleet-id fleet-4b7fc542-cb08-4f65-908c-737f64ca2e8f --instance-id i-031278fb03cf29d35 --region ap-northeast-2
- Above command gives you the information to access. Access the instance via RDP or SSH. If game server fleet do not authorize to access port, you can configure it in console.
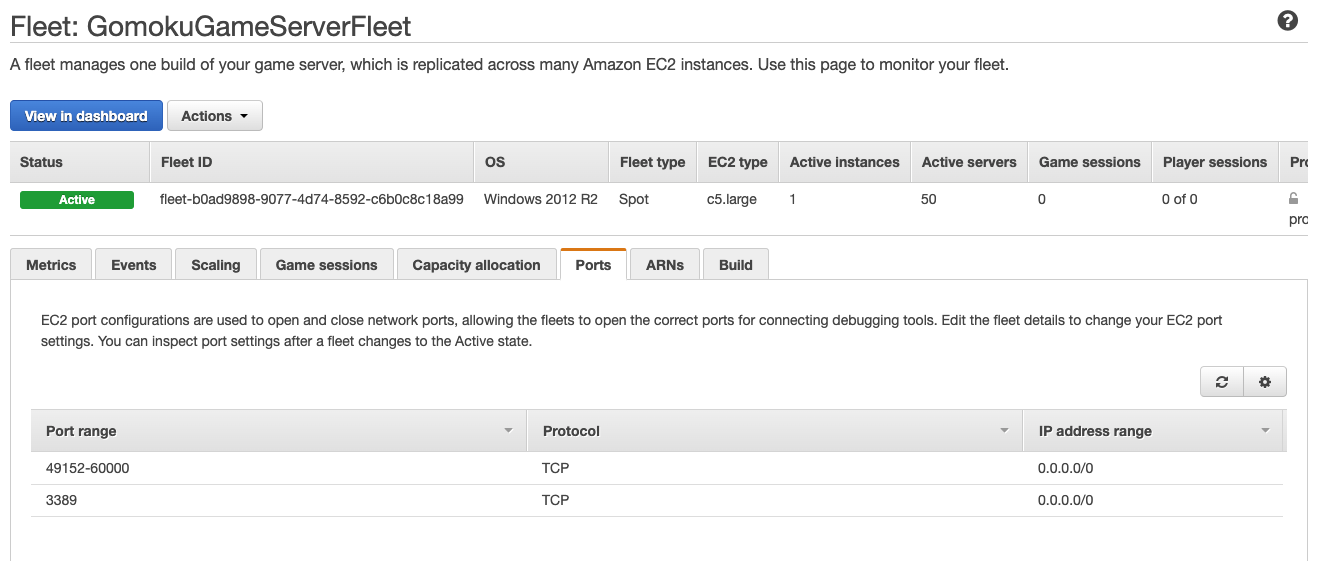
Picture above describes configuration that allows RDP port for the instance. You can configure your fleet as needed.