Game Client Settings & Game Play!
Game Client Settings & Game Play!
The content of this section is different from the case of using FlexMatch. Note that the FlexMatch version of the client binaries is different from the binaries in this lab. If you want to practice using FlexMatch, you can try Part 2.
In the previous exercise, we deployed a game server to handle sessions through the GameLift service, and we configured a match server environment to match sessions with GameLift’s fleet deployed through the matchmaker server.
It is time to play Gomoku! Wow.. it must be so exciting..!
For practice, use a game client binary(Classic/client/GomokuClient.exe), or directly build the GomokuClient project in the root folder in Visual Studio. If you build your own binaries, we recommend building in 64-bit Release mode.
- Modify the config.ini file in the root directory of the GomokuClient project.
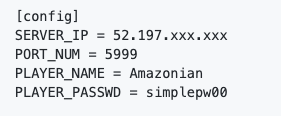
Set the EIP of the matchmaker server created in the previous chapter, and set the port to connect to. Since the client does not support a separate login function, enter the user information to log in to the configuration file.
If you don’t have an account, you will be a new member, but please be aware that if the login information does not match, you will not be able to play the game!
-
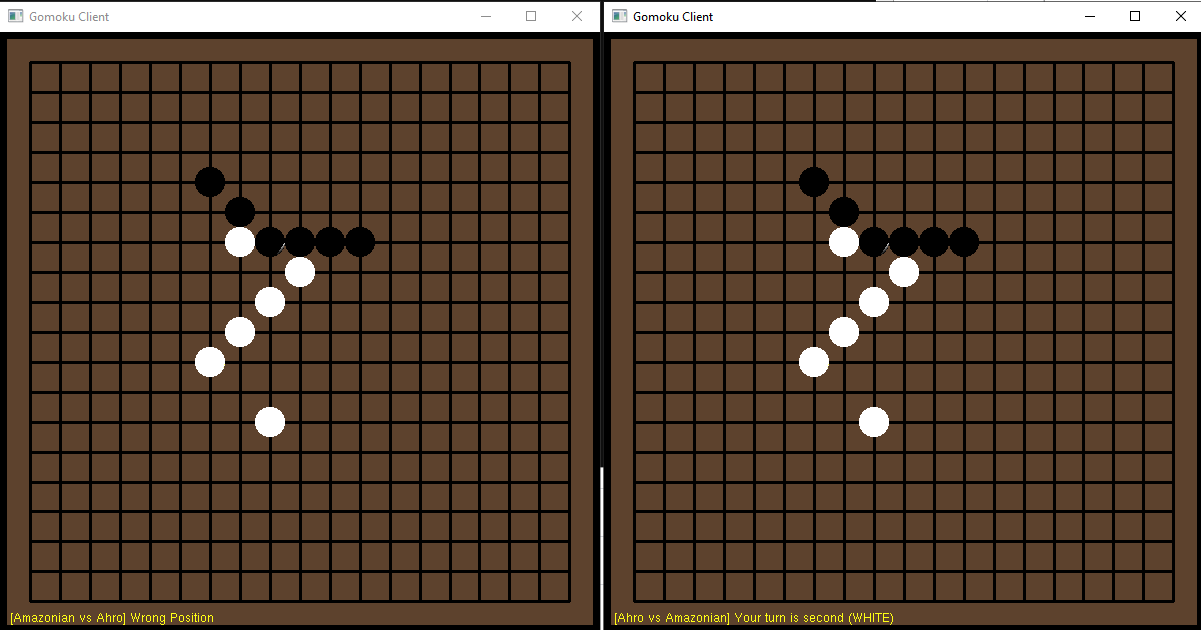
Launch GomokuClient.exe. To play the game Click the right button and press Game Start button. When you start the game, it searches for matching opponents.
-
Once matched, you can enjoy the game! Beat your opponent and become the winner of the Gomoku!
- The game results are stored in the database and this can be checked through the S3 website endpoint that you configured earlier.