Creating Game Server Build & Fleet
Creating Game Server with GameLift Service
We will now begin configuring the server binaries to work with the Gamelift service.
-
Prepare compiled binary. It should be provided for this lab. However if you want to customize or debug, you can refer how to build source codes on Appendix.
-
Check whether there are files GomokuServer.exe, aws-cpp-sdk-*.dll, config.ini, install.bat, aws-cpp-sdk-gamelift-server.dll exist on given folder bin/GomokuServer. Check whether vc_redist.x86.exe exists.
-
Edit config.ini file using Text editor. SQS_REGION means Region that SQS has been created. (ex: ap-northeast-2). Put SQS endpoint for SQS_ENDPOINT. In SQS_ACCESSKEY and SQS_SECRETKEY, write IAM User Access Key and Secret Access Key.
The binaries in this lab were created before the IAM role was supported, and for the convenience of the lab, Credential is delivered. Currently, there is no need to pass the Credential directly, the best practice is to use the IAM Role. You can refer to the related information through the FlexMatch lab. Please do not expose your credentials in real use cases.
If you are working on a file in a Mac or Windows environment and distributing it on an independent system, be aware of the text file format. In particular, the New Line format in Windows differs by CRLF, which may affect parsing of settings.

- Build GameLift Binary using CLI. If CLI environment is not configured, please refer Preparation.
Since the path of the build and the path of the executable file (exe) in the GameLift console to be set must match, it is recommended to execute the command in the path including the GomokuServer.exe.
aws gamelift upload-build --name "Classic_Build-1" --build-version "0.0.1" --build-root . --region us-east-1
-
When uploading, make sure you set the lab region correctly.
-
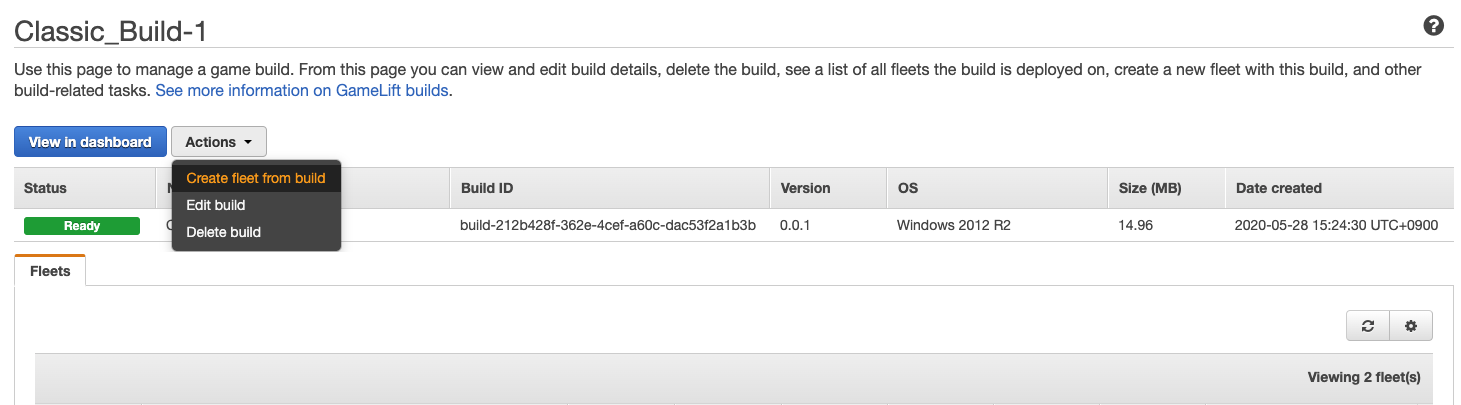
You are able to find build is uploading when you move to GameLift console. https://console.aws.amazon.com/gamelift

- When the build is successful, it is activated as shown above. Let’s create a Fleet from a successful build.
- Enter the settings as follows.
If you select Spot Type from Fleet Type, you can configure GameLift instance fleets in the form of spot fleets.
GameLift chooses the fleet with the lowest interruption rate and cost by placing the Spot instance on the instance type with the lowest interruption probability.
With this feature, we can use GameLift service cost-efficiently.
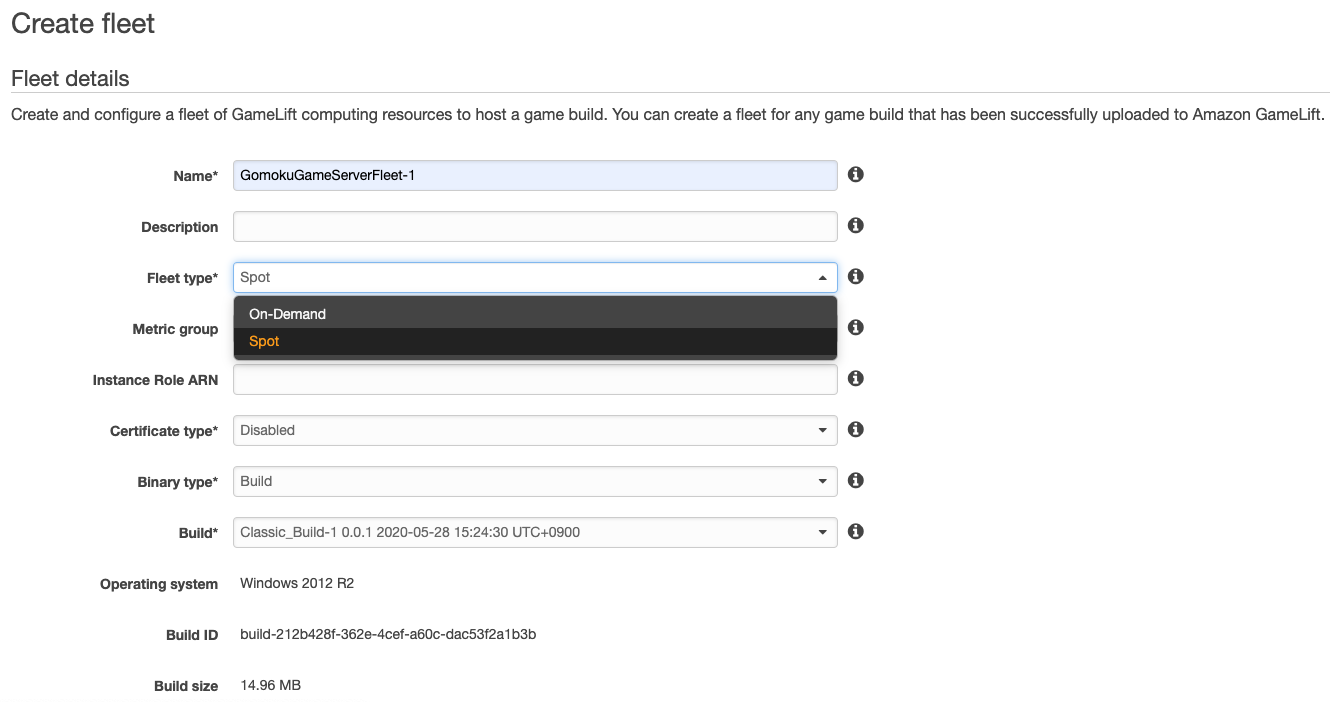
- Name: GomokuGameServerFleet-1
- Instance type: c3.large or c4.large
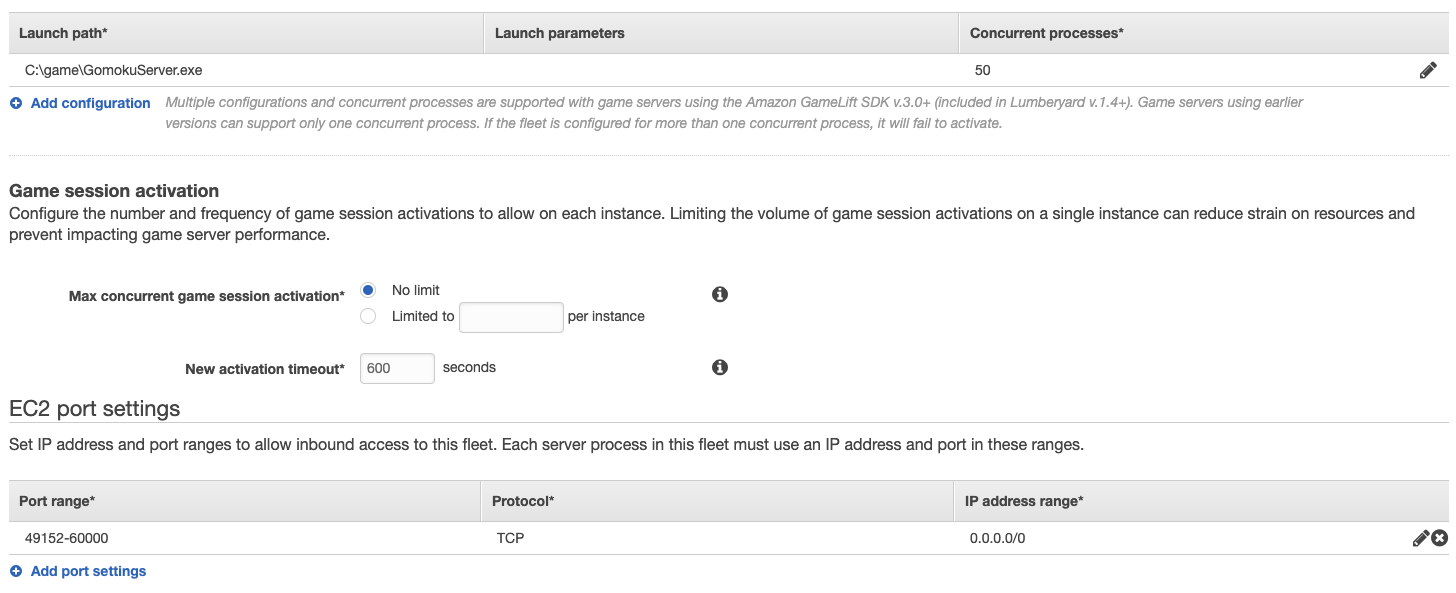
- Launch path: GomokuServer.exe
- Concurrent processes: 50
- EC2 Port settings
- Port range: 49152-60000
- Protocol: TCP
- IP address range: 0.0.0.0/0
When setup is completed, create a fleet clicking “Initialize Fleet” button. The operation takes about 20 minutes.
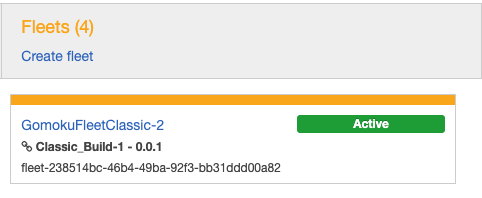
When fleet making is completed, it changes to the above state. Let’s configure Alias while the fleet is being created.
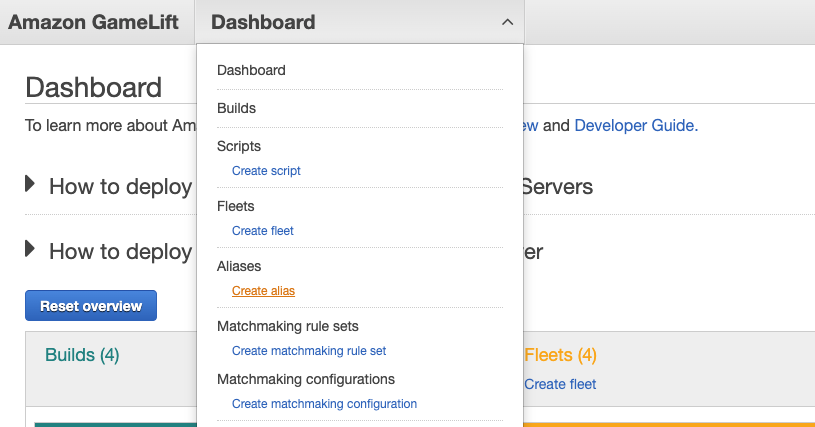
- Open the GameLift menu and click on the “Create Alias” menu.
- Specify an appropriate alias and select the routing type as Simple. Associate creating Fleet at the Alias.
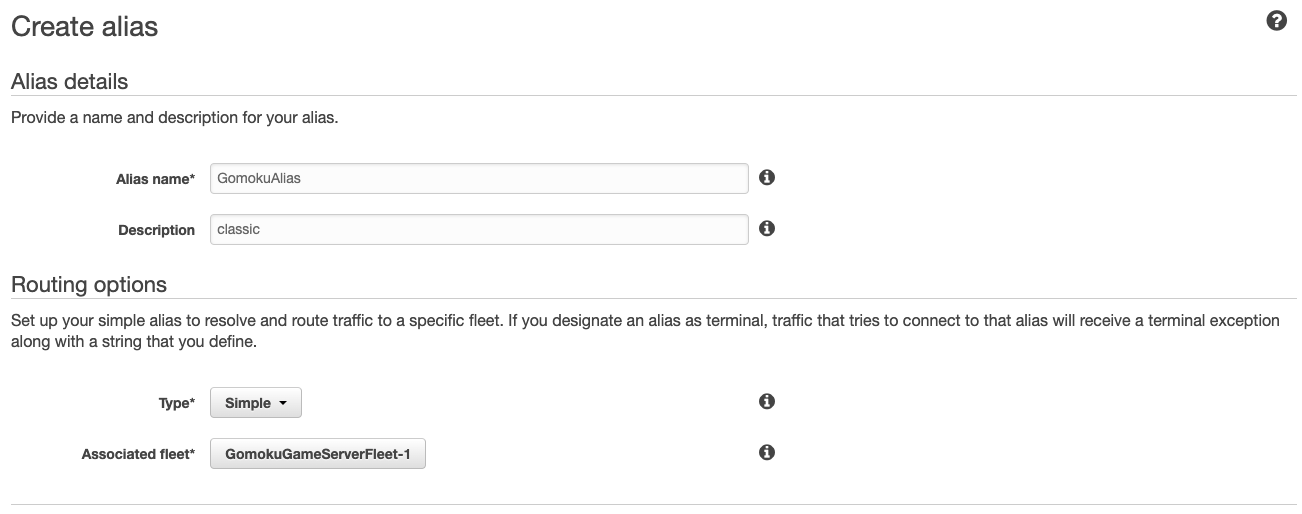
We are using Alias to access Fleet. Record Alias ID. Let’s make Matchmaking server next.